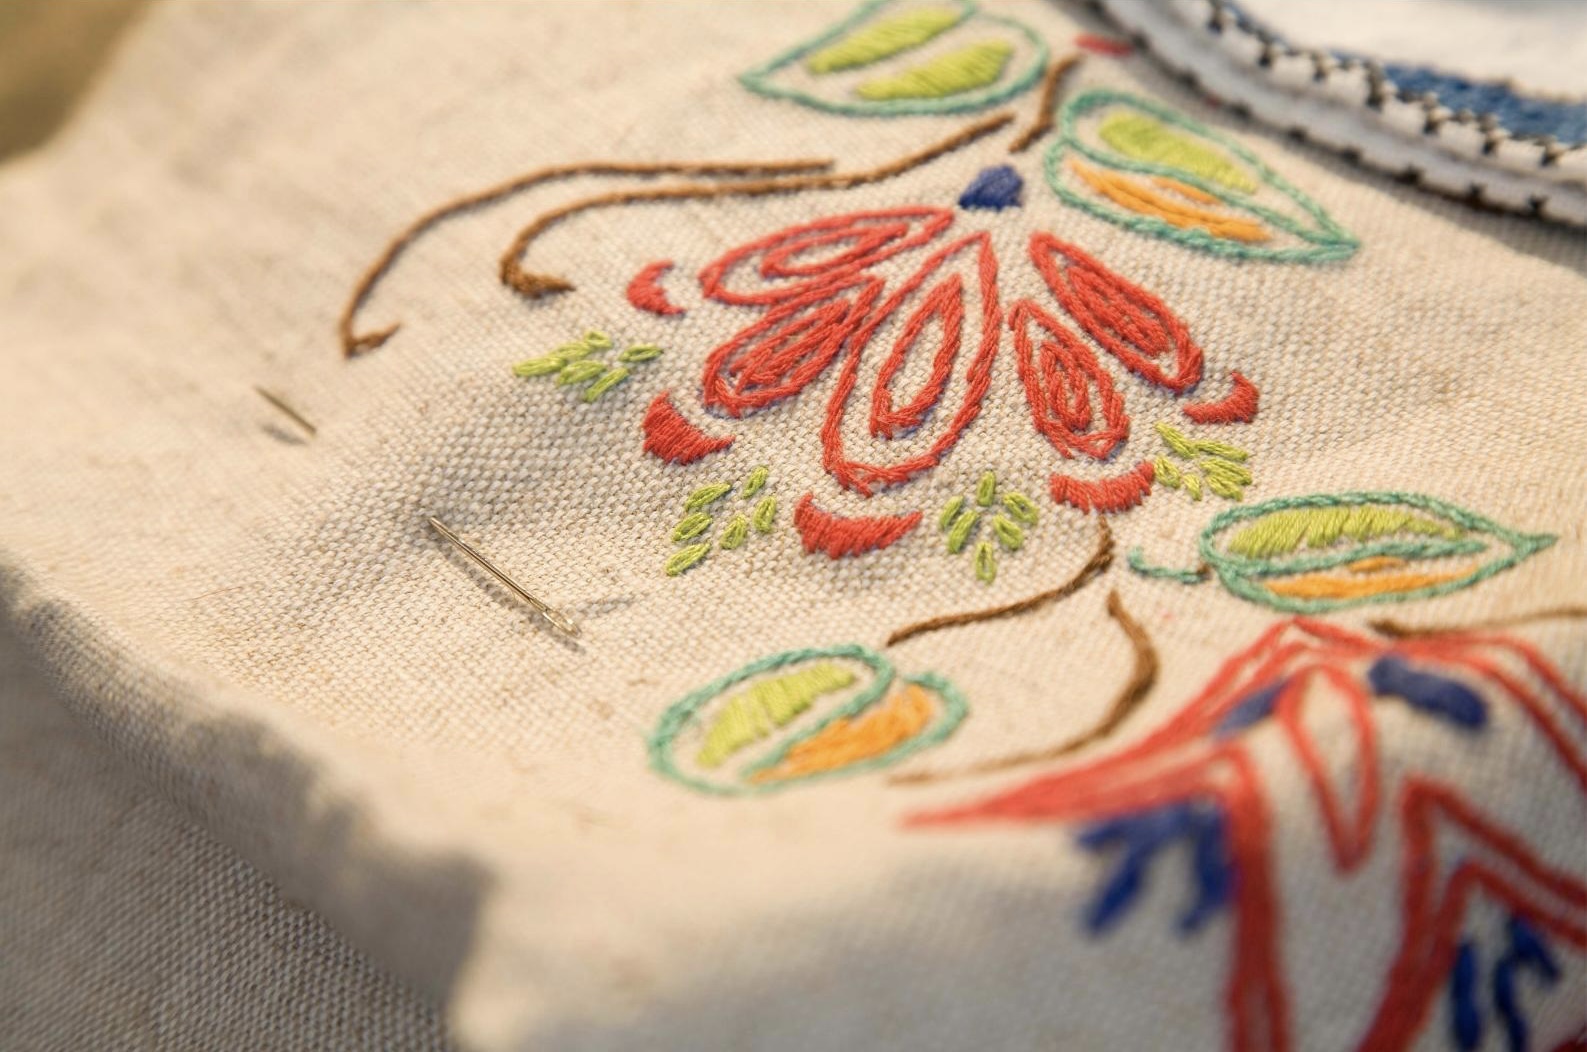
Embroidery is the process of decorating and embellishing a piece of fabric or clothing garment using a needle and thread.
Historically, embroidered garments were seen as a sign of great wealth and power, particularly as religions across the world gained popularity. Religious scenes were often depicted on elaborate tablecloths and wall-hangings, and the rich in society would commission embroidered clothing as a display of their wealth.
While beautiful, there may be a few reasons why you’d want to remove embroidery from your garments. Maybe the embroidery is damaged from wear and tear and needs re-doing? Maybe you made a mistake while embroidering and need to fix it? Or, maybe you just want to switch the old design for a new one?
Given the fine detail and precision involved in it, embroidery is an art form that is prone to mistakes. Don’t worry! Here are five simple steps to removing unwanted embroidery.
Tools You’ll Need When Removing Embroidery
Seam Ripper
Seam rippers remove unwanted stitches by cutting through thread. Made of a plastic handle and a small metal fork, they’re the ideal tool for removing embroidery, especially hand-embroidery. Ideally the seam ripper you use should be sharp, otherwise it may not be as quick a process as you hope.
If you want to speed up the process even more, you’ll need a stitch eraser.
Stitch Eraser
Using a stitch eraser is an even easier way to remove embroidery. While more expensive than buying a seam ripper, the stitch eraser is a worthwhile investment if you’re going to be removing embroidery often. It is especially vital for those who embroider clothing professionally, as it saves a lot of time when, inevitably, mistakes are made.
A stitch eraser gets underneath the stitches and cuts the thread in a similar way to a seam ripper, but much more quickly. They are either mains-powered or battery-powered, and can cost anywhere between £50 – £150, depending on the brand.
If you don’t want to purchase a stitch eraser but using a seam ripper is proving to be too time-consuming or difficult, you can use electric hair clippers or even a disposable razor to do a similar job to a stitch eraser, but you’ll need to be extra careful that you don’t damage the fabric underneath. Do this at your own risk!
Tweezers
Tweezers are not essential for the process of removing embroidery, but since you’ve probably got them lying around your house, they’ll be a useful tool to make sure every thread is removed.
Ideally the tweezers should have a sharp, pointed ends. Rounded or blunt tweezers may be more difficult to grip onto threads with, and you have to resort to using your hands.
Lint Roller
Similarly, lint rollers are inexpensive and are a great tool for making sure you remove every single bit of thread from your garment. You can also use cellotape wrapped around your hand to do this job, just make sure it won’t damage the fabric of your garment if it is delicate.
How To Remove Embroidery
1. Turn The Garment Inside Out
The first step to removing embroidery is to turn your fabric or piece of clothing inside out. You’ll need to be able to access the back of the stitches to remove the embroidery in full. It may also be useful to cut away any visibly loose threads before you begin. Make sure you’re doing this on a stable surface so that you don’t slip while holding the scissors, seam ripper or stitch eraser. Safety first!
2. Tear Stitches Using Seam Ripper or Stitch Eraser
Begin by using a seam ripper (or stitch eraser) to tear the stitches, being careful not to damage the fabric underneath. A seam ripper will be more useful for loose or hand-stitched embroidery, while a stitch eraser will be better suited to a piece that has been machine-embroidered.
To use a seam ripper, slide the sharp metal end of the tool underneath the thread while holding the plastic handle and pull the seam ripper upwards to cut the thread. Make sure the seam ripper is not aimed towards you when you do this – you don’t want to end up cutting yourself!
To use a stitch eraser, first flatten out the section of fabric you’re working on, then gradually run the eraser over the embroidery in a constant side-to-side motion. The stitch eraser will likely produce more mess than a seam ripper, so you may need to pause to brush off the broken threads every few minutes.
3. Remove Stubborn Stitches with Tweezers
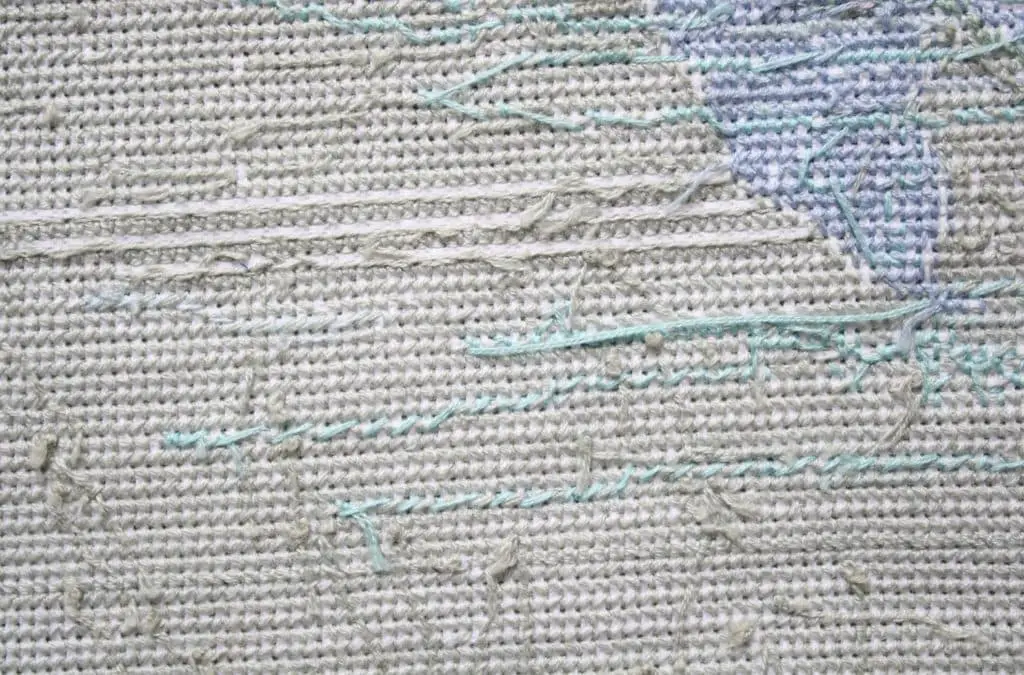
When removing embroidery with either a seam ripper or a stitch eraser, there are likely to be stitches leftover in the fabric. They should be pulled out quite easily with a pair of tweezers, but if not, you may need to repeat Step 2 until all stitches have been successfully removed.
4. Tidy Up With A Lint Roller
You will likely be left with lint and fluff from ripping the threads, so go over the area with a lint roller or cellotape to tidy up the piece. Some pieces of thread will be quite stubborn, so don’t be afraid to go over with the lint roller a few times!
5. Wash The Garment
It’s a good idea to wash the garment after removing embroidery on it to remove any lingering dirt, dust or fluff. If the garment has remaining embroidery elsewhere, make sure you following our guidance on how to hand-wash and machine-wash your embroidered pieces.
In summary, removing embroidery is fairly simple and easy to do. Whether you’re rectifying a mistake or completely re-vamping your favourite denim jeans, embroidery can be removed with very little hassle. For a pristine finish, make sure to go over your garment with a lint roller, and put it through the washing machine or hand-wash it.