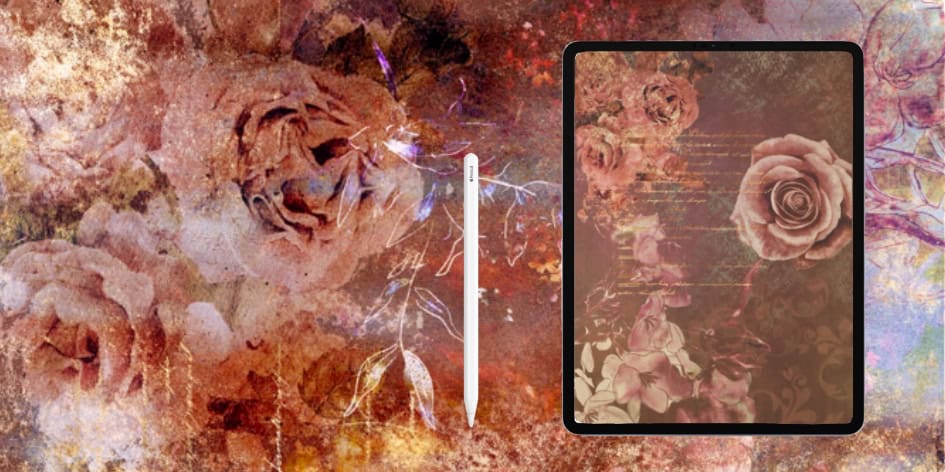
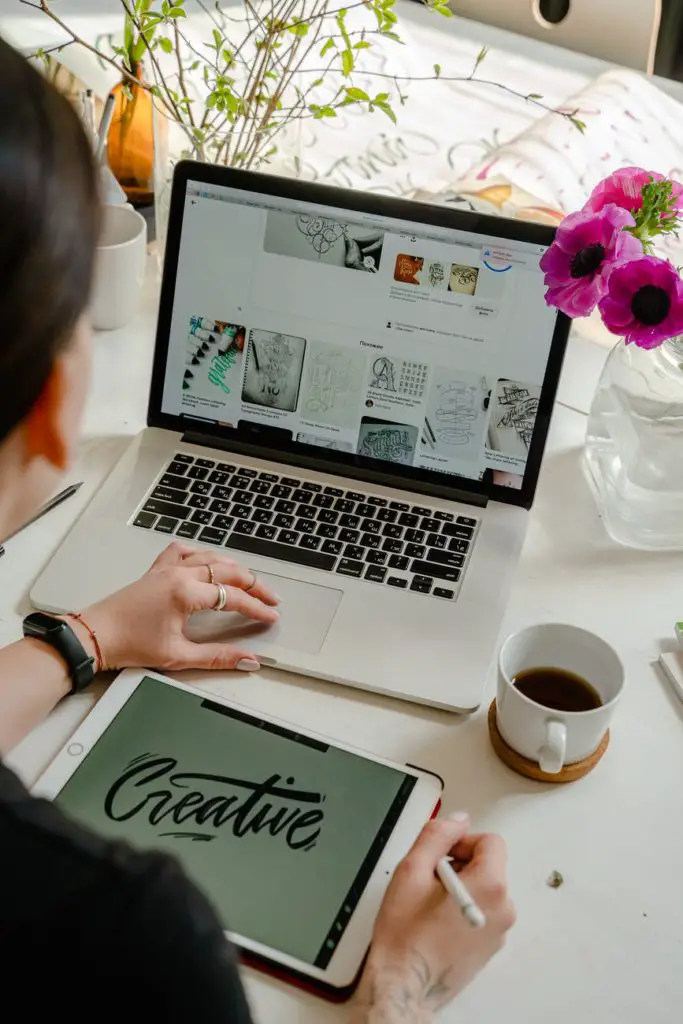
One of the most popular programs for creating digital art available in the current market is Procreate, a program specifically designed to recreate as much of the traditional art experience as possible.
While also taking on the many benefits that come with digital art, such as a multiple layer system, much like Photoshop, and the ability to tweak saturation and colour palettes in ways that aren’t possible in traditional painting.
Nevertheless, it can be a common refrain when mentioning Procreate that it is difficult to learn – which isn’t necessarily true. Like all programs, for art or otherwise, learning the skills necessary to use Procreate and use it satisfyingly have a bit of a learning curve. But if it is approached with the right guide, the correct expectations, and a constructive attitude, it can be as intuitive as any digital art program out there. With this in mind, let’s go over some of the many features available through Procreate, as well as some of their recommended uses.
Procreate Features…
Brushes
Most artists use Procreate in conjunction with tablets, in order to more comfortably use the program, which is designed to simulate the experience of drawing with a pen and paper. As such, the main and most basic feature of the Procreate toolset is the ability to select a brush from a variety of shapes and textures, all of which can recreate different aspects of artistic expression.
Whether you prefer to draw with a grease pencil, an ink pen, a thin marker, a paintbrush of any nature, or even an airbrush nozzle, all of this comes prepared with the Procreate app, and if somehow the wide array of brushes available to you aren’t getting you exactly what you need, you can even download new brushes, or create them yourself, meaning that your tools are only limited to what you’d like them to be.
Canvas
Similarly, there’s just as much freedom when it comes to selecting a Canvas in the home screen of the app, allowing you to choose from all kinds of templates and styles before you begin committing digital ink to paper, or to go completely off book and make your own. You can also download templates from elsewhere and use them instead, just as is the case with the brush.
Layers
There are many things to go over when beginning to create with Procreate, but the most basic among them is the layers feature. Similarly to Photoshop and other photo manipulation programs, Procreate depends on a layer system, where you create new layers and stack them over the original, then either delete the layers underneath or collapse them into one art piece at the end of the work.
The function may seem strange to start off with if you’ve only ever worked with a physica canvas and paint, but it functions very similarly to the idea of using layering over an oil painting.
Just as oil painting, most artists use the first layer of the canvas as a sketch layer, drawing with a pencil or a fine pen brush to put down their first ideas and design for the piece, and then saving it separately in case they’d like to return to it. The next layer is typically a lineart layer, equivalent to putting down the first few layers of oil paint to structure the piece – or, with Procreate, to create shapes that can be filled in more easily using the tools available.
Just as with oil paint, the more layers you add, the more individual effects you can add to the piece: after painting, you may add a shading layer, and then a light effect layer, and have as many of each as you like – unlike with oil paint, however, you can go to each layer individually and tweak with them as you go.
For example, you might want to return to the sketch layer, to see if any original details were lost, or you may play with the smudge tool on the lineart to create a more blended look once you’ve started shading it in.
Just remember to name your layers as you go – it’ll keep you from losing track or which is which and accidentally deleting or filtering out the wrong one!
Other features
Some other basic features of Procreate are the undo and redo buttons, as well as the brush size and opacity features.
Brush size allows you to control the size and shape of your brush, so you can make it as fine-nibbed or as broad as you like, and opacity controls how opaque or translucent your brush will be, which matters especially when it comes to layers and adding brushstrokes to add depth.
The undo and redo buttons, respectively, allow you to quickly undo an effect, as implied by the name, or to redo the most recent action – you can also simply tap the screen twice with your fingers to undo the latest action, or three times to redo it.
Another tool to know about is the quick menu, which you can access by tapping anywhere on your canvas with your finger and holding it there. This will bring up a basic menu with the most common actions you’ve frequently used, like alpha lock, which is a feature that allows you to paint only within the closed shape you’re working on, so that you don’t have to struggle with painting within the lines, or flipping the canvas horizontally or vertically, which is self explanatory.
Artwork will automatically be saved in Procreate, so once you’re happy with your completed work, you can export and share it by pressing the “Share” button in the Actions menu, and then selecting the file type you’d like to save your art in, and where you’d like it saved to.
Once you’ve exported the file to whatever format you’d like, which will merge all the layers into one completed piece, you can now safely upload your newest artwork to wherever or whatever purpose you’d like!
This has only been a few features, and there is much, much more to Procreate, but it may serve as a place to begin creating new and exciting artworks!