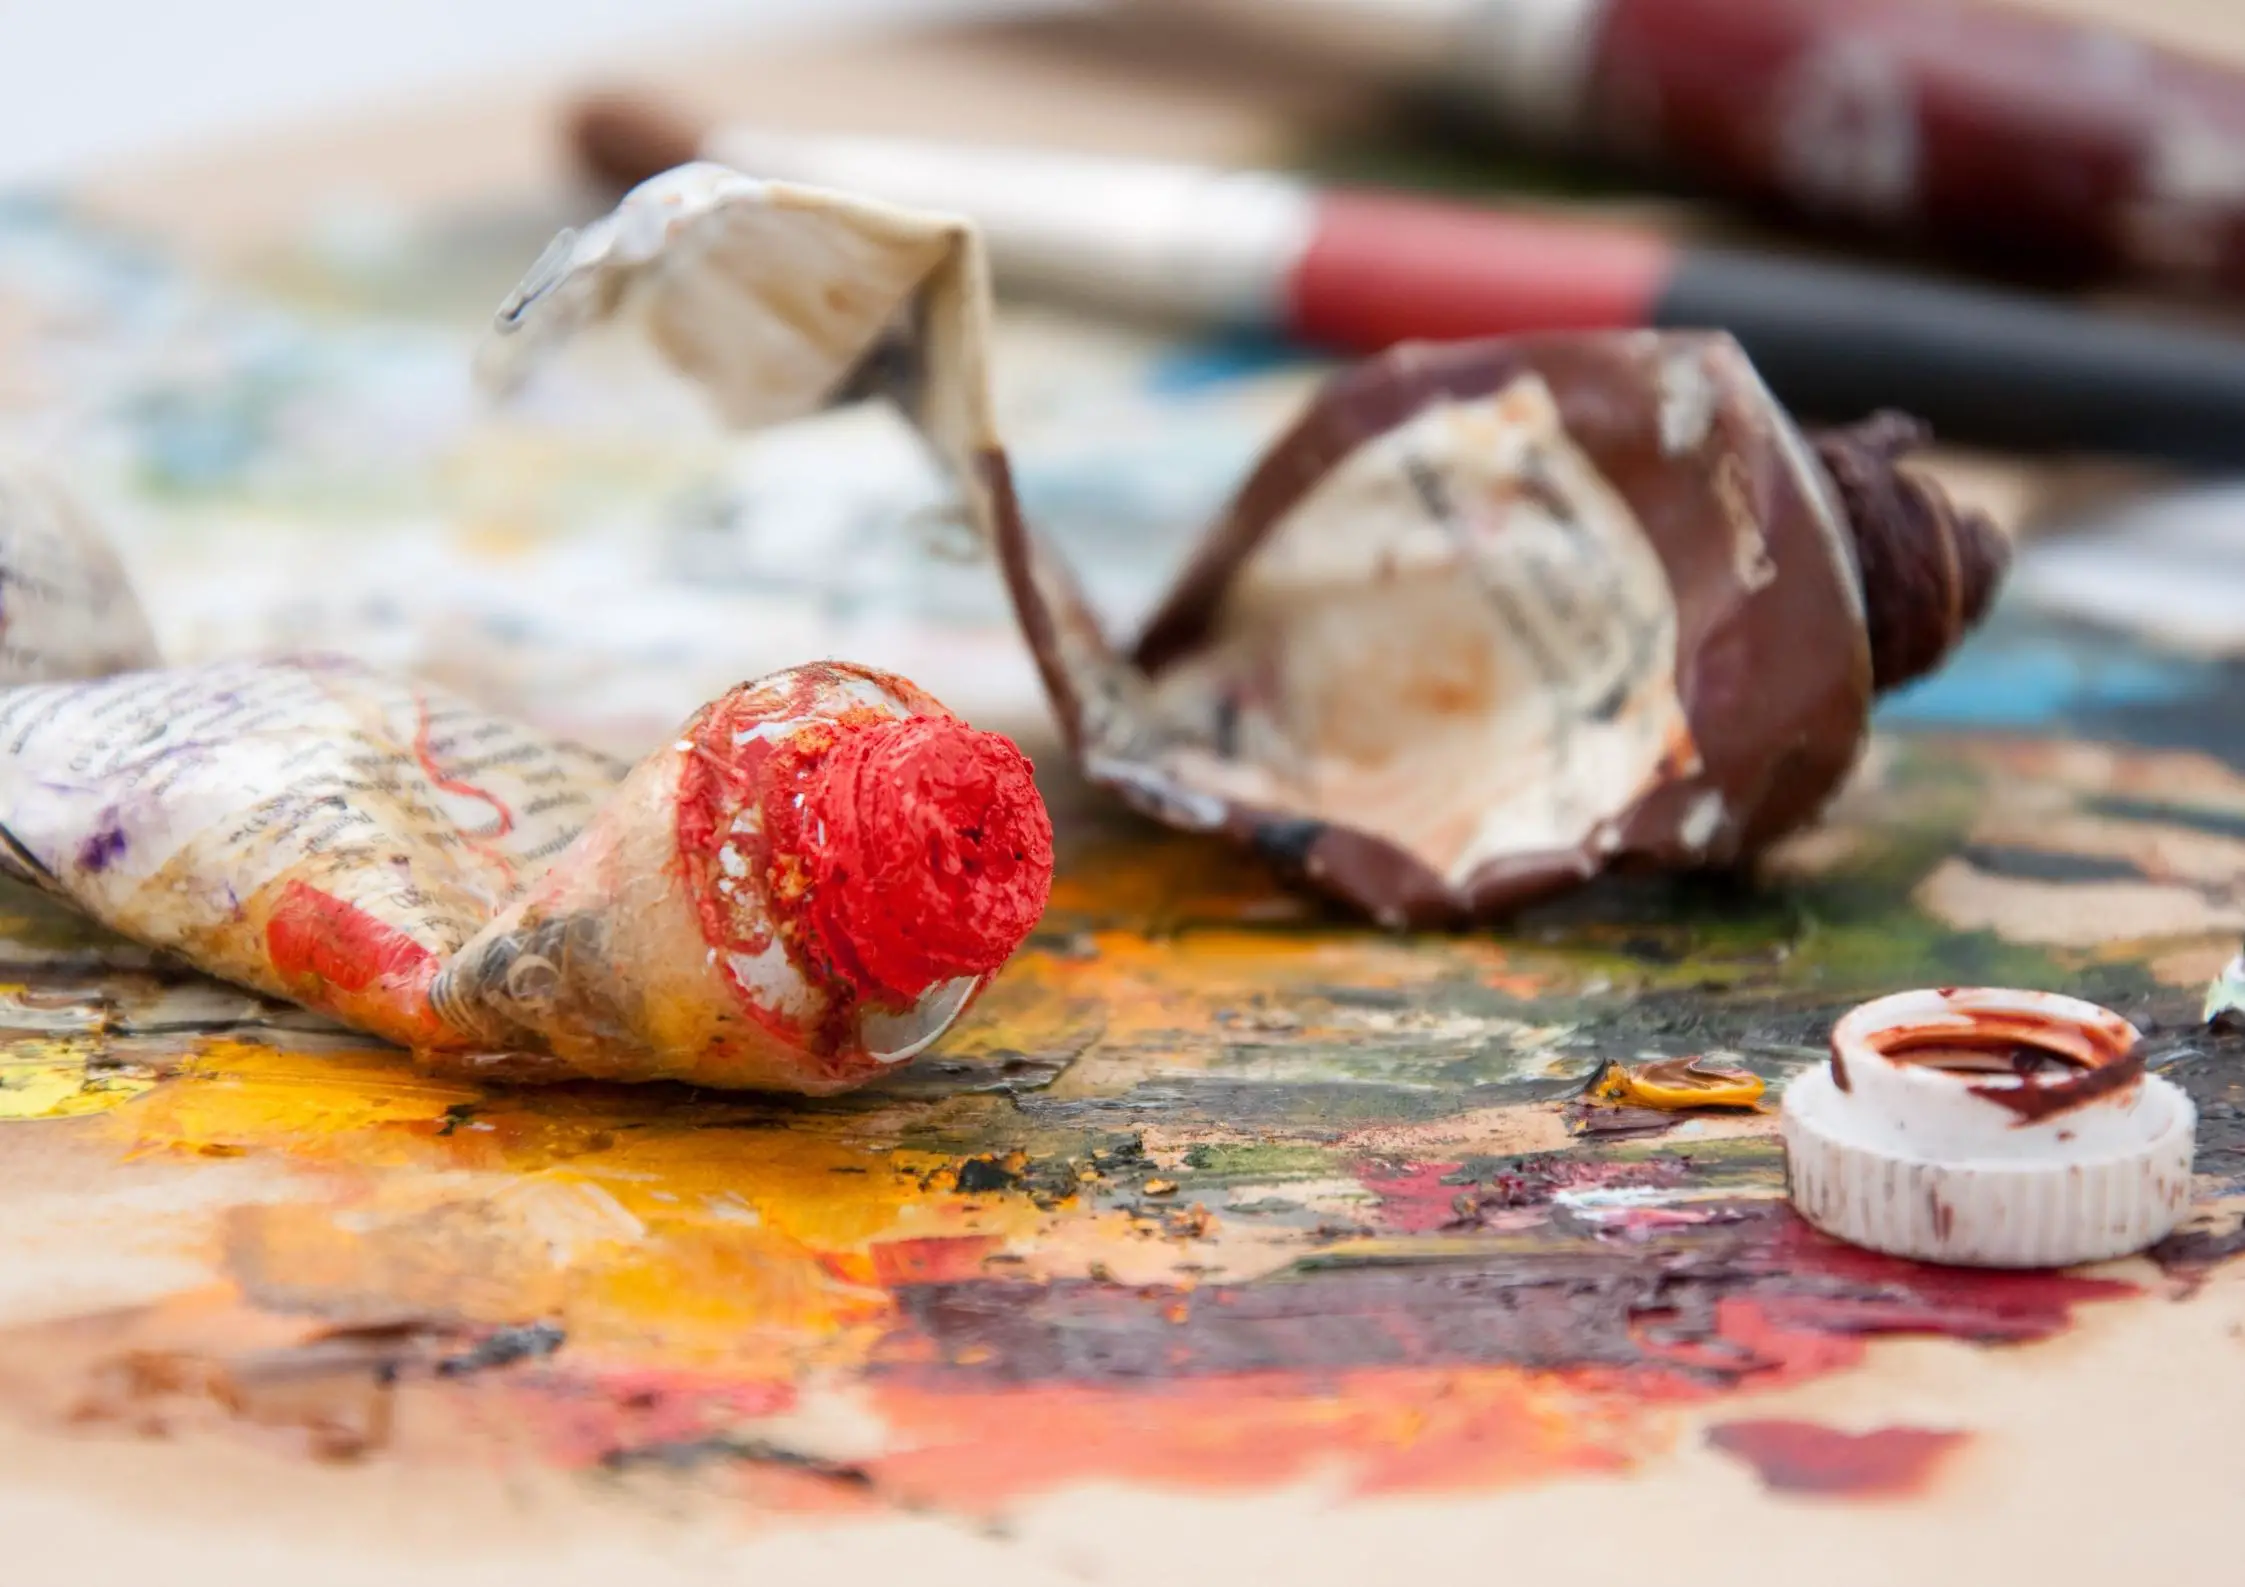
When artists do a lot of oil painting, a question that will need tackling at some point, especially after a build up of old paints in their workspace is: how do we dispose of it all safely?
The answer is, to begin with, to not let old cans and tubes of oil paint build up. While it might seem like they’re completely empty, they’re still releasing fumes, which can build up and become a safety hazard. Likewise, when arranging for the disposal of old paint equipment, refrain from leaving the cans and tubes out on the sidewalk, because they might pose a safety hazard if exposed to the elements for too long.
Reach out within your local community, especially if you live nearby art studios or universities, and look up online to see if any paint disposal organisations operate near you, and contact them to arrange a safe and secure pick up. Depending on your place of residence, they might be interested in you bringing the materials to them. Regardless, you should follow their directions, and never attempt to dispose of your old oil paint by yourself, especially not within your place of residence.
Professionals within paint manufacturing companies, or art nonprofits, should be better equipped to handle these paints and paint containers, and able to dispose of them in ways that are safer to the community and the environment. If you follow all the advice we’ve highlighted, you should have no problem at all cleaning up after painting in a safe and organised fashion.
Traditional oil paints can be a headache in many respects, and not only because you have to be wary of those turpentine fumes! Because they aren’t water mixable in their traditional form, they can be especially tricky to clean off of brushes and other equipment, with hot water and soap doing little to properly clean the slow-drying paint off of the hairs on a brush.
Paint brushes, especially quality ones using expensive equipment, are important to keep in good condition for as long as possible, and that means doing all you can to remove paint from the bristles before you put them away, and to store them dry and free of soap and water so that the adhesive doesn’t errode. This, combined with the fact that oil paint isn’t water soluble and is so difficult to clean, begs the question of how exactly are you supposed to maintain your equipment.
The role of turpentine in traditional painting replaces the role the water takes in painting with watercolour, tempera, or acrylic paint, and this follow through for all applications of water. When it comes to traditional oil painting, turpentine is used to water down the paint and make it more malleable and workable, with the higher the turpentine to paint ratio making the paint more fluid and runny.
This is directly inverse to the effect additional oils, like linseed or walnut oil, have on oil paints. Since adding more oil makes the paint more viscous and allows the painter to brush on more careful and precise details, which leads to the rule of thumb “fat over lean”. The “fat” in question being paint with a greater oil content, and the “lean” being paint with a greater turpentine ratio – this rule conduct suggests painting looser, more watery layers closer to the canvas, and gradually layering on paint with greater and greater oil ratio to add finer and more delicate details, which depend on more control over the brushstrokes to create.
This being the case, the use of solvents in place of where water would be used with traditional water-soluble paints, this extends to the cleanup.
How To Clean Oil Paint…
In order to properly clean oil paint off of paintbrushes, painters thoroughly don protective gear, including gloves and protective face equipment to reduce the amount of skin exposed to harsh chemicals, and prevent fume inhalation to the greatest extent possible.
Using cleaning equipment such as steel wire or brushes, you then gentle and thoroughly rinse the brushes in the turpentine solvent. Or, if you choose to, in other chemical-based paint thinners, removing as much of the caked-on paint as possible through the rinsing process, as well as gentle pressure and repetitive cleaning motions.
As this point, once enough paint has been removed, you can use paper towels to carefully blot out the remaining paint from the brushes, and, if need be, rinse and repeat. Once the blotting comes away mostly clean, the brushes can be then washed again in water and soap, and then dried thoroughly before being put away. It is important to dispose of the blotted paper towels well, as well as the solvent used to clean the brushes, because they, especially if the solvent is based on turpentine or oil, can remain flammable, and should not be exposed to any heat or sparks.
However, this is not the only way to remove oil paints, whether it be from brushes or from other equipment. Other ways to wash off traditional oil paints do exist, though they may require a little bit more elbow grease to get the job done completely. For example, linseed oil can also be used to clean brushes! Though it may seem paradoxical, since linseed oil is used to make oil paints thicker and more tactile. However, because oil paints are oil-soluble, they can also be used as cleaners, allowing you to clump off the majority of the paint from the brush before thoroughly rinsing with water and soap and drying the brushes, as outlined above.
Additionally, you may also use natural, less noxious solvents to clean brushes and equipment. For example, Eco-Solve is a type of paint thinner made primarily by soy, allowing for the same turpentine-based solvent cleanup that we first went over, but with much reduced hassle and risk, though you should still handle it with gloves for safety’s sake. Another sound method is to use white wine vinegar to clean your brushes – while it might not work to get the paint off entirely, soaking your brushes in a vinegar solution is a trusted method at removing caked-on dry paint, and rescue otherwise unsalvageable equipment.