Learning To Paint Loose Watercolour Flowers
Loose watercolour flowers has a different take on the level of detail and time dedicated to it than detailed flower painting. The borders of the petals, leaves and branches are ...
Read more
14 Watercolour Painting Techniques For Beginners
Watercolour painting is one of the most popular art forms. It’s fun, it’s inexpensive, and it allows for a wide range of creative techniques. Just about any artist can embark ...
Read more
Painting Watercolour Flowers? 6 Tips Before Starting

Painting flowers in watercolour is a great choice. Few painting mediums capture the delicate beauty of flower petals in bloom, their inherent translucent nature and natural flow, the way watercolour ...
Read more
Watercolour Painting for Beginners (11 Steps to Building Your Confidence)

For centuries, watercolour painting has been a popular art form and often records florals, still life, landscapes and other scenes. The beauty of watercolour paintings lies in the translucent nature ...
Read more
Handpainted Watercolour Eucalyptus Foliage Illustrations (Free Clipart & Backgrounds Download)
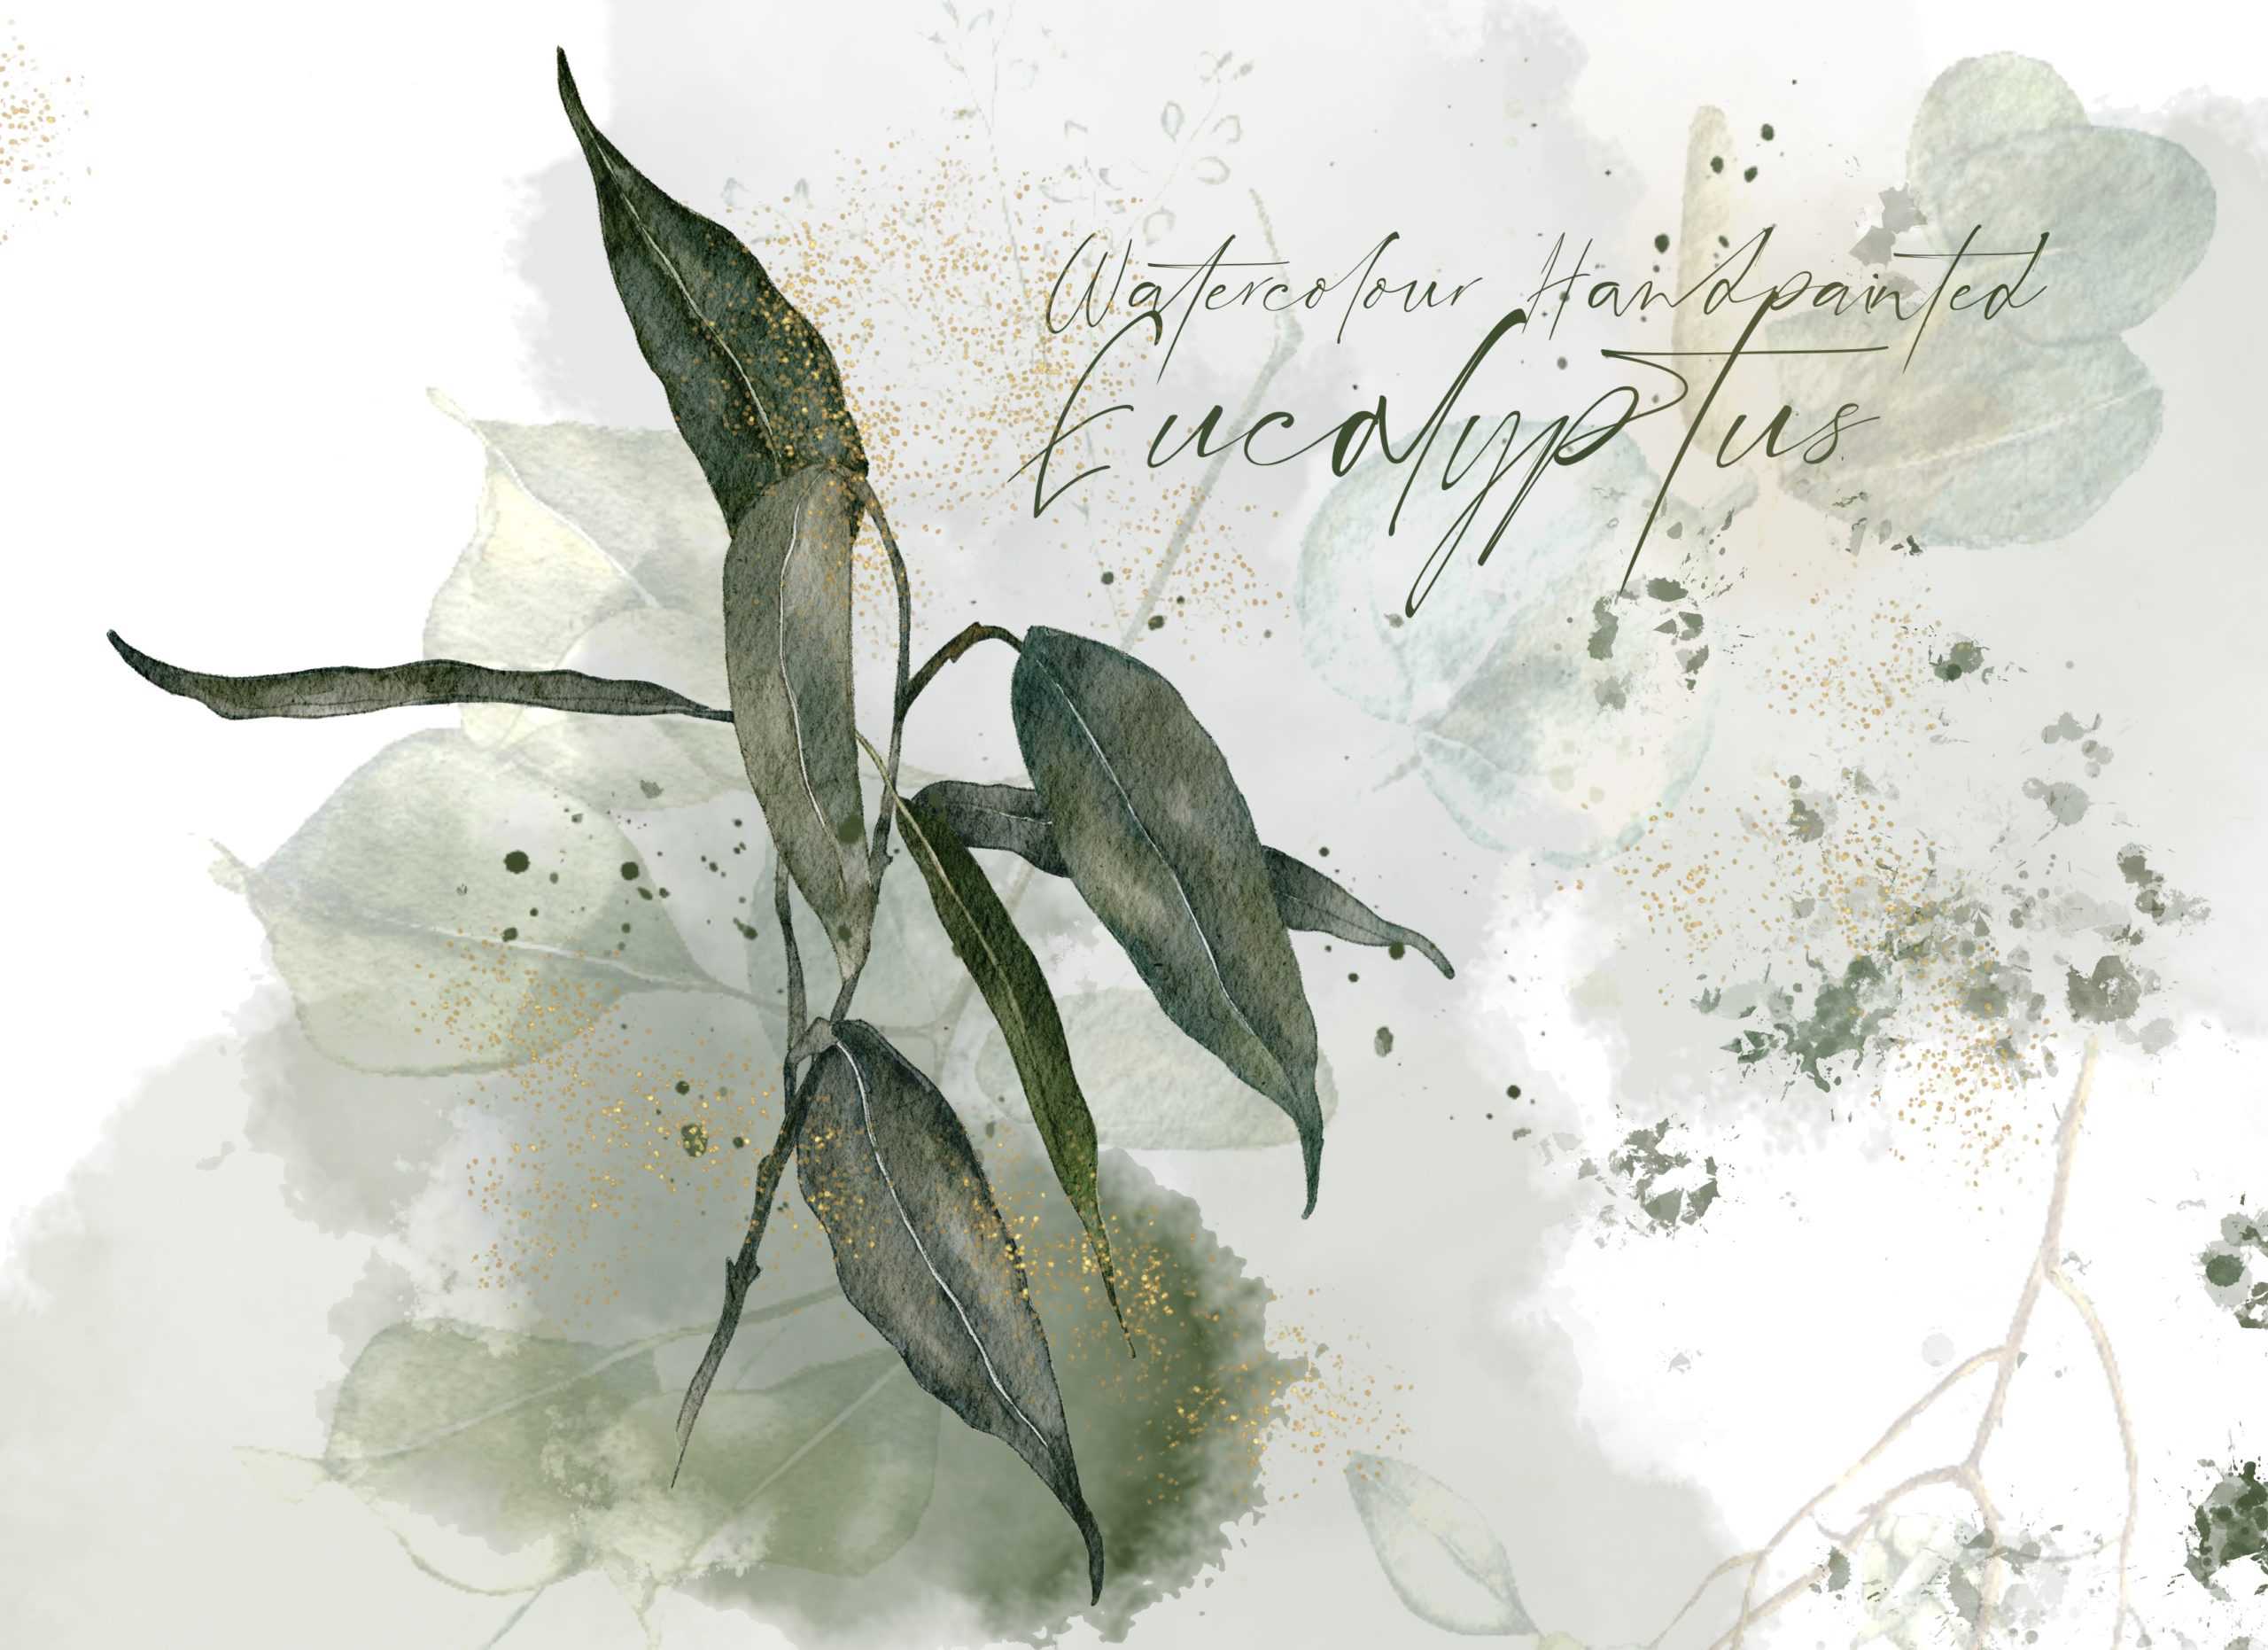
With a decidedly storybook or encyclopaedic style, this watercolour eucalyptus clipart set captures an individual aspect of the eucalyptus tree. The artwork includes leaves of various shape, both distinct and ...
Read more
Inspiration From The Natural World To Begin Painting With Watercolours
Watercolour is a wonderful paint to work with and has a natural edge that embodies the outdoors. It is a concentrated paint that is mixed with water to create a medium that leads to translucent, ...
Read more
Painting Simple & Loose Watercolour Flowers

Simple floral illustrations are usually hand painted with a minimalistic, brushstroke-forward floral aesthetic appearance. Elements are made up of full flowers, designs depicting stems and basic leaf structures, petal designs, ...
Read more