

Oil paintings are often considered the most elegant of art forms due to the rich and diverse colours often achieved in this art form. Many of the greatest artists mastered oil painting, and their works of art are still studied and placed on display for all to see. The oldest oil painting dates back to the 7th century AD, which makes them incredibly resilient and durable. If you are seeking to join the ranks of oil painters, you will find everything you need to know about oil painting in this ultimate guide to oil painting: rules, mediums, and varnish.
Types of Oil Paint
Before we go into details about the different oil paints available, it is important to note that oil paint pigments have different drying times. This means that even oil paints of the same type may have varying drying times. This is important to remember when adding different layers of paint to a painting. Make sure to give each layer of paint enough time to dry to avoid cracking.
Traditional Oil Paints
Finely ground pigments are used to create traditional oil paints, which are mixed into a drying oil. These paints usually consist of a buttery texture; however, the consistency, transparency, and drying time can be altered by mixing in mediums.
Water-Mixable Oil Paints
Water-mixable oil paints are similar to traditional oil paints; however, they do not always require a medium or solvent to be mixed in. They are more fluid in texture and are great for beginner oil painters. Clean up is also much easier as only soak and water are required. Water-mixable oil paints are much more efficient and cost-effective than traditional oil paints.
Alkyd Oil Paint
Alkyd oil paint contains resin which accelerates the drying time. This is often referred to as quick-drying oil paint. This is also another type of oil paint that does not require a medium to be mixed with it. Make sure to adhere to the ‘slow drying over fast drying’ rule when painting. This rule is discussed in more detail below.
Oil Bars
Oils bars, or pigment sticks, are crayon-like bars of colour or pigment and wax. This is another great type of oil painting for beginners as you can draw directly onto the canvas with this paint stick. Mediums or solvents can then be painted onto the canvas and blended with the colour pigments.
Mediums
The medium is a mixture added to oil paint that alters the properties of the paint, including the transparency, consistency, and drying time of the paint. There are all kinds of mediums to choose from to achieve the desired effect of your oil painting. Solvents are also often categorised as mediums since they are used in the same way as mediums. Here are a few of the most common solvents and mediums used in oil painting, along with their properties and characteristics:
- Acrylic Gesso: Gesso is used for priming the canvas or whichever surface is being prepared for the oil painting. By applying two to three coats of gesso to the canvas, you will prepare the surface for the oil paint to adhere more efficiently, and you also prevent the oil paint from being absorbed into the canvas. If the oil paint is absorbed into the canvas, it will leave dull spots throughout the painting resulting in a patchy-looking final art piece. While gesso is usually white, grey, black, and clear options are also available.
- Turpentine: Turpentine is a solvent used to dilute and thin oil paint. Mixing turpentine with a bit of pigment results in a thin, quick-drying wash. This is ideal for painting the base coat or underlying outlines of the painting. Turpentine can be used on its own with oil paint or mixed with another medium such as linseed oil. Turpentine is also a great solvent to use when cleaning brushes used in oil painting. Unfortunately, many artists dislike working with turpentine due to the strong, pungent smell. Some artists even complain about experiencing headaches and nausea when using turpentine. When using turpentine, make sure that you are in a well-ventilated space to help eliminate the fumes and keep your bottles sealed tightly when not in use.
See also: Thin Oil Paint Without Turpentine (8 Alternatives)
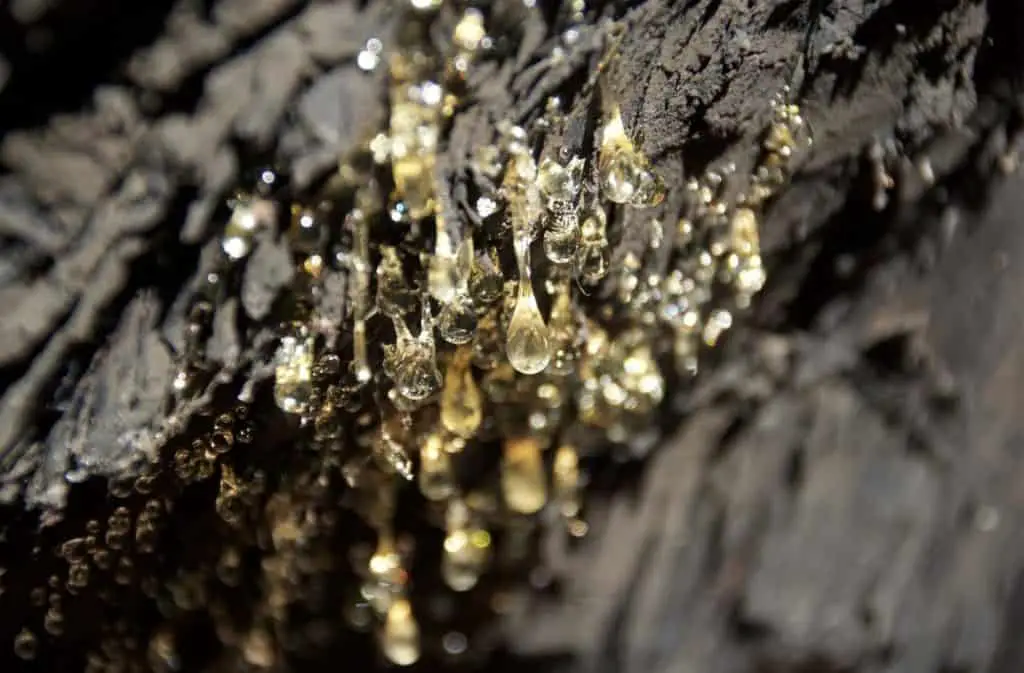
- White Spirit / Low Odour Thinners: White spirits and low odour thinners are similar to turpentine; however, turpentine is derived from natural resins extracted from trees, while white spirits are petroleum-based. White spirits also have the same effects as turpentine when it comes to a strong odour, so it is recommended to seek out a low odour thinner if you are sensitive when it comes to smells. White spirits are quick-drying and can be used on its own or mixed with other mediums for added effects.
See also: Turpentine vs White Spirit: Which Solvent Should I Use For Oil Painting
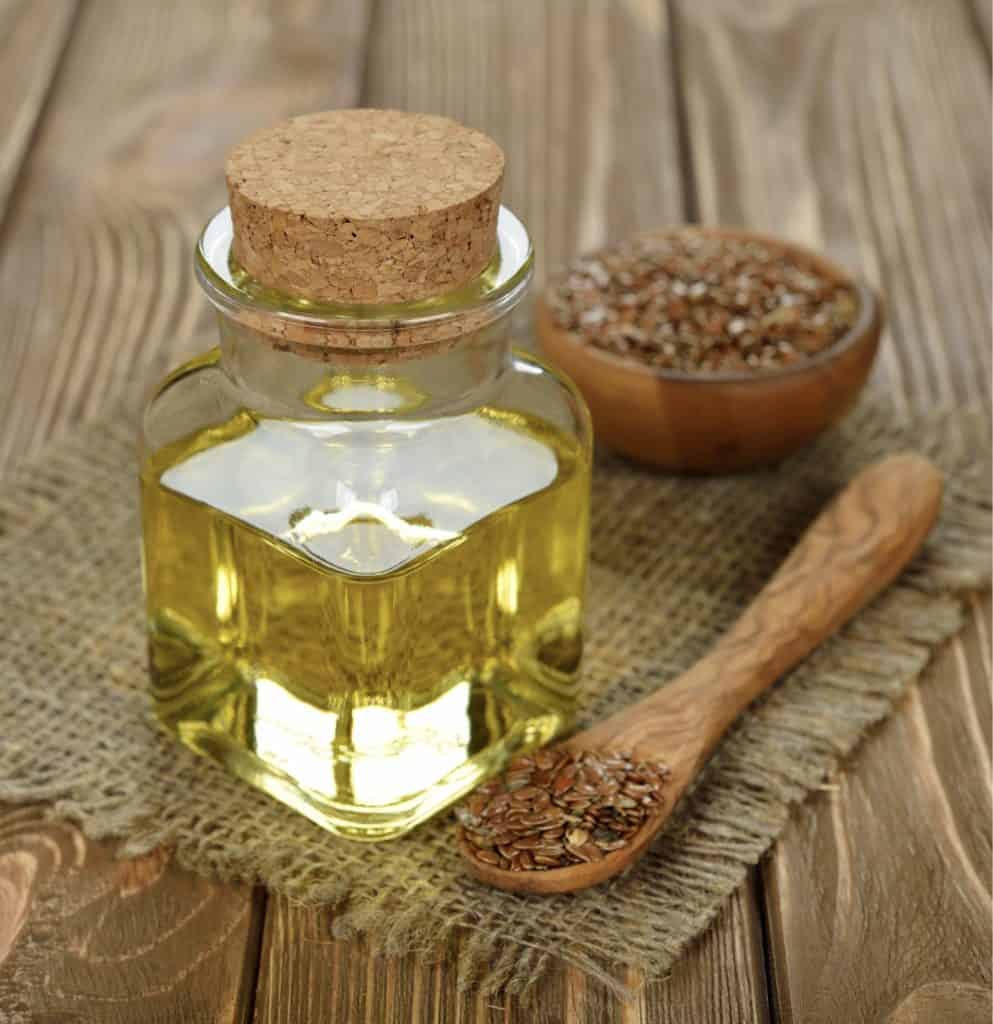
- Linseed Oil: Linseed oil is considered the best medium when it comes to oil painting. It comes in several variants, including purified linseed oil, thickened linseed oil, and cold pressed linseed oil to ensure your desired effects are attained when oil painting. Now, it is important to note that all linseed variants dry with a slightly yellow tinge; however, the final result is a high gloss finish. Purified linseed oil thins and slows the drying time of the oil paint to ensure the artist has enough time to create the desired effect with the oil paint. Linseed stand oil is thicker than purified linseed oil and dries with a smooth and elastic finish that does not leave any brush strokes. It has a slower drying time than purified linseed oil, and when mixed with a solvent, such as low odour thinners, it is the ideal glazing medium. Drying linseed oil is darker than the other linseed oils and dries much quicker than the other variants. It is ideal for artists who prefer a speedier process when creating their art pieces. Just like the other variants, drying linseed oil improved the consistency of the paint and enhances the gloss of the painting.
- Poppy Oil & Safflower Oil: Both poppy and safflower oils are paler than linseed oil are a great alternative when mixing with white or other lighter colours to avoid the ‘yellowing’ associated with linseed oil. These oils are not as resilient as linseed oil and are much slower-drying than other oils, so use cautiously, especially when layering over faster-drying layers. As a result, these oils are more prone to cracking as they dry. As with all oil painting, make sure to allow ample time between layers to ensure effective drying of the paint.
- Walnut Oil: Walnut oil is another popular medium used in oil painting. Walnut oil was used for centuries by artists who regarded it as a high-quality alternative to linseed oil as it was less likely to cause ‘yellowing.’ Walnut oil is lighter in colour than linseed oil. Another advantage of walnut oil is its quick drying time. It dries much quicker than linseed oil, poppy oil, and safflower oil. One of the biggest disadvantages of walnut oil, and many of the other nut oils, is that it does not store well in the long term. It often goes stale when not stored correctly. Once they are exposed to air, it triggers the drying process. This results in a stale and off-smelling product. To correctly store walnut oil, and other nut oils, keep them in a cool, dry place, such as the refrigerator. Keep out of sunlight and ensure the bottle is tightly sealed. When in use, only extract the amount needed and replace the bottle in storage until its next use.
Varnishes
Once your oil painting is complete, it is time to apply a varnish seal to protect your oil painting. Make sure you have allowed ample time for your oil painting to dry completely before applying the varnish layer. It is recommended to wait at least six months before applying to varnish to ensure your painting does not crack. Let’s take a look at tips and tricks for applying varnish to your oil painting.
Determine the Type of Varnish
There are several types of varnishes available to choose from. Artists generally select the type of varnish based on the desired finish for their art piece. Dammar varnish is one of the most popular varnishes. Gloss varnishes are usually chosen as they illuminate the deepest and brightest colours; however, they generally have a lot of reflection. Matt varnishes may not reflect; however, the colours appear muted and dull.
Tips for Applying Varnish
- Make sure your painting has been given ample time to dry. It is recommended to wait at least six months before applying the varnish.
- Make sure to work in a dust-free space to avoid trapping particles in your varnish coats.
- Use the correct wide, flat varnish brush to apply the varnish to ensure an even coat and avoid brush strokes from showing.
- Make sure the lay the oil painting flat when applying the varnish. Applying varnish to a vertical painting will result in the varnish distributing unevenly and possibly run off the painting altogether.
- Stir the varnish well and pour it out of the bottle. When loading your brush with varnish, make sure to wipe off the excess varnish before applying it to the painting.
- Apply two to three thin coats of varnish on your art piece instead of one thick coat. This will ensure a more even distribution of varnish and the correct adherence to your art piece.
- Apply the varnish with long, thin strokes from the top of the painting to the bottom, moving gradually from one side to the other. Avoid creating bubbles by splashing or excess varnish. If bubbles do occur, make sure to remove them.
- Avoid going over areas that you have already varnished. If you missed any areas, make sure to get them with the next coat of varnish. Since the varnish gets tacky quickly, attempting to go over a missed section may result in creating an undesired texture in the varnish or even ruining the topcoat of your oil painting.
- Once you have completed your layer of varnish, protect the artwork from any potential dust by covering it with a ‘tent.’ This is often a protective plastic film.
- Allow each layer to dry for at least twenty-four hours before applying another coat. Apply the next layer at a ninety-degree angle to the first to ensure a thorough coat of varnish is applied.
- Avoid leaning varnished paintings against each other as they may stick together.
- Avoid touching the varnished surface with your fingers as impressions may show.
- Avoid hanging paintings in bathrooms and kitchens, or above radiators, open fires, or vents as they will collect dirt very quickly.
Rules for Oil Painting
Oil painting is one of the most forgiving and flexible art forms; however, there are a few rules to ensure that your art piece ages well and does not crack. The three most common rules for oil painting are the ‘fat over lean’ rule, the ‘thick over thin’ rule, and the ‘slow drying over fast drying oil paint’ rule.
Fat Over Lean Rule
Due to the texture and consistency of oil paint, mediums are added to alter the properties of the oil paint. When mediums are added to oil paints, it creates flexibility in the painting. Ideally, with each new layer of paint added, the layers become more flexible. By following this guideline, the top layers of paint will be flexible enough to handle both internal and external stressors that often lead to cracks in oil paintings. According to the ‘fat over lean’ rule, the ‘fat’ and ‘lean’ terms refer to the medium used and the amount of drying oils mixed in with the paint. ‘Fat’ layers of paint contain more drying oils, while ‘lean’ layers of oil paint contain less drying oils. To achieve more flexibility with each passing layer, increase the medium to the oil paint ratio with each new layer added to the painting. The first layer of paint should contain very little medium, while the outer layers should have a higher medium to paint ratio. In other words, the first layer of the painting should be ‘lean’ with less drying oil, while the outer layers should be ‘fat’ with more drying oils.
Thick Over Thin Rule
In the same way, more medium is added to each new layer of paint, each new layer of oil paint should be thicker than the layer of paint before it. Since thin layers of paint dry more quickly, they are placed at the base of the artwork to ensure the oil paint dries correctly. If a thin layer of oil paint is placed over a thick layer of oil paint, the thin layer will dry faster than the thick layer under it. This will result in the thin layer of paint cracking as the thicker layer under it settles and dries slower. Placing the thicker layer over the thinner layer will prevent internal stressors that lead to cracking in the top layers of the oil painting.
Slow Drying Over Fast Drying Oil Paint
Consistency is a vital component of oil painting. In particular, it is crucial to remain consistent with the products you use throughout your painting. This means that if you start your oil painting with a fast-drying oil paint, you should use this kind of paint for all of the layers on your painting. Switching between slow-drying and fast-drying oil paint in between the layers of a painting will cause incorrect drying of your oil paint and result in cracking. If you do have to mix the two different types of oil paint, it is recommended to use the fast-drying oil paint first for the bottom layer of the painting before switching to the slow-drying oil paint. It is also vital to remain consistent with the medium used throughout the painting. Different mediums have different properties and features, so mixing the mediums between layers can result in internal stress for the painting, which leads to cracking. Whichever oil paint and medium you choose to work with, make sure you allow each layer of paint ample drying time before proceeding to the next layer.
High–Quality Products
Whether you are picking out your oil paints, mediums, or varnishes, it is important to use high-quality items specifically designed for oil painting. Never substitute any household items, especially chemicals, for supplies you may not have. Not only will household products possibly destroy your artwork, but it may also cause you physical harm. Make sure to put your health and well-being first. Make sure to work is a well-ventilated space to ensure odorous paints, mediums, and varnishes do not overwhelm your senses and cause an allergic reaction.
Purchase your supplies from a reputable source to ensure the highest quality and prevent your artwork from cracking. Make sure you are allowing ample time in between layers for the oil paint to dry, as even the highest quality products will crack if proper procedures are not followed and paint in not given enough time to dry.
Final Thoughts
There is so much to keep in mind when oil painting. It is easy to get lost in all of the rules and product formulas and ratios. Keep it simple: use high-quality products, give each layer enough time to dry, and remember to just have fun! Art is an expression of creativity. Gather your supplies and let your creativity take over.