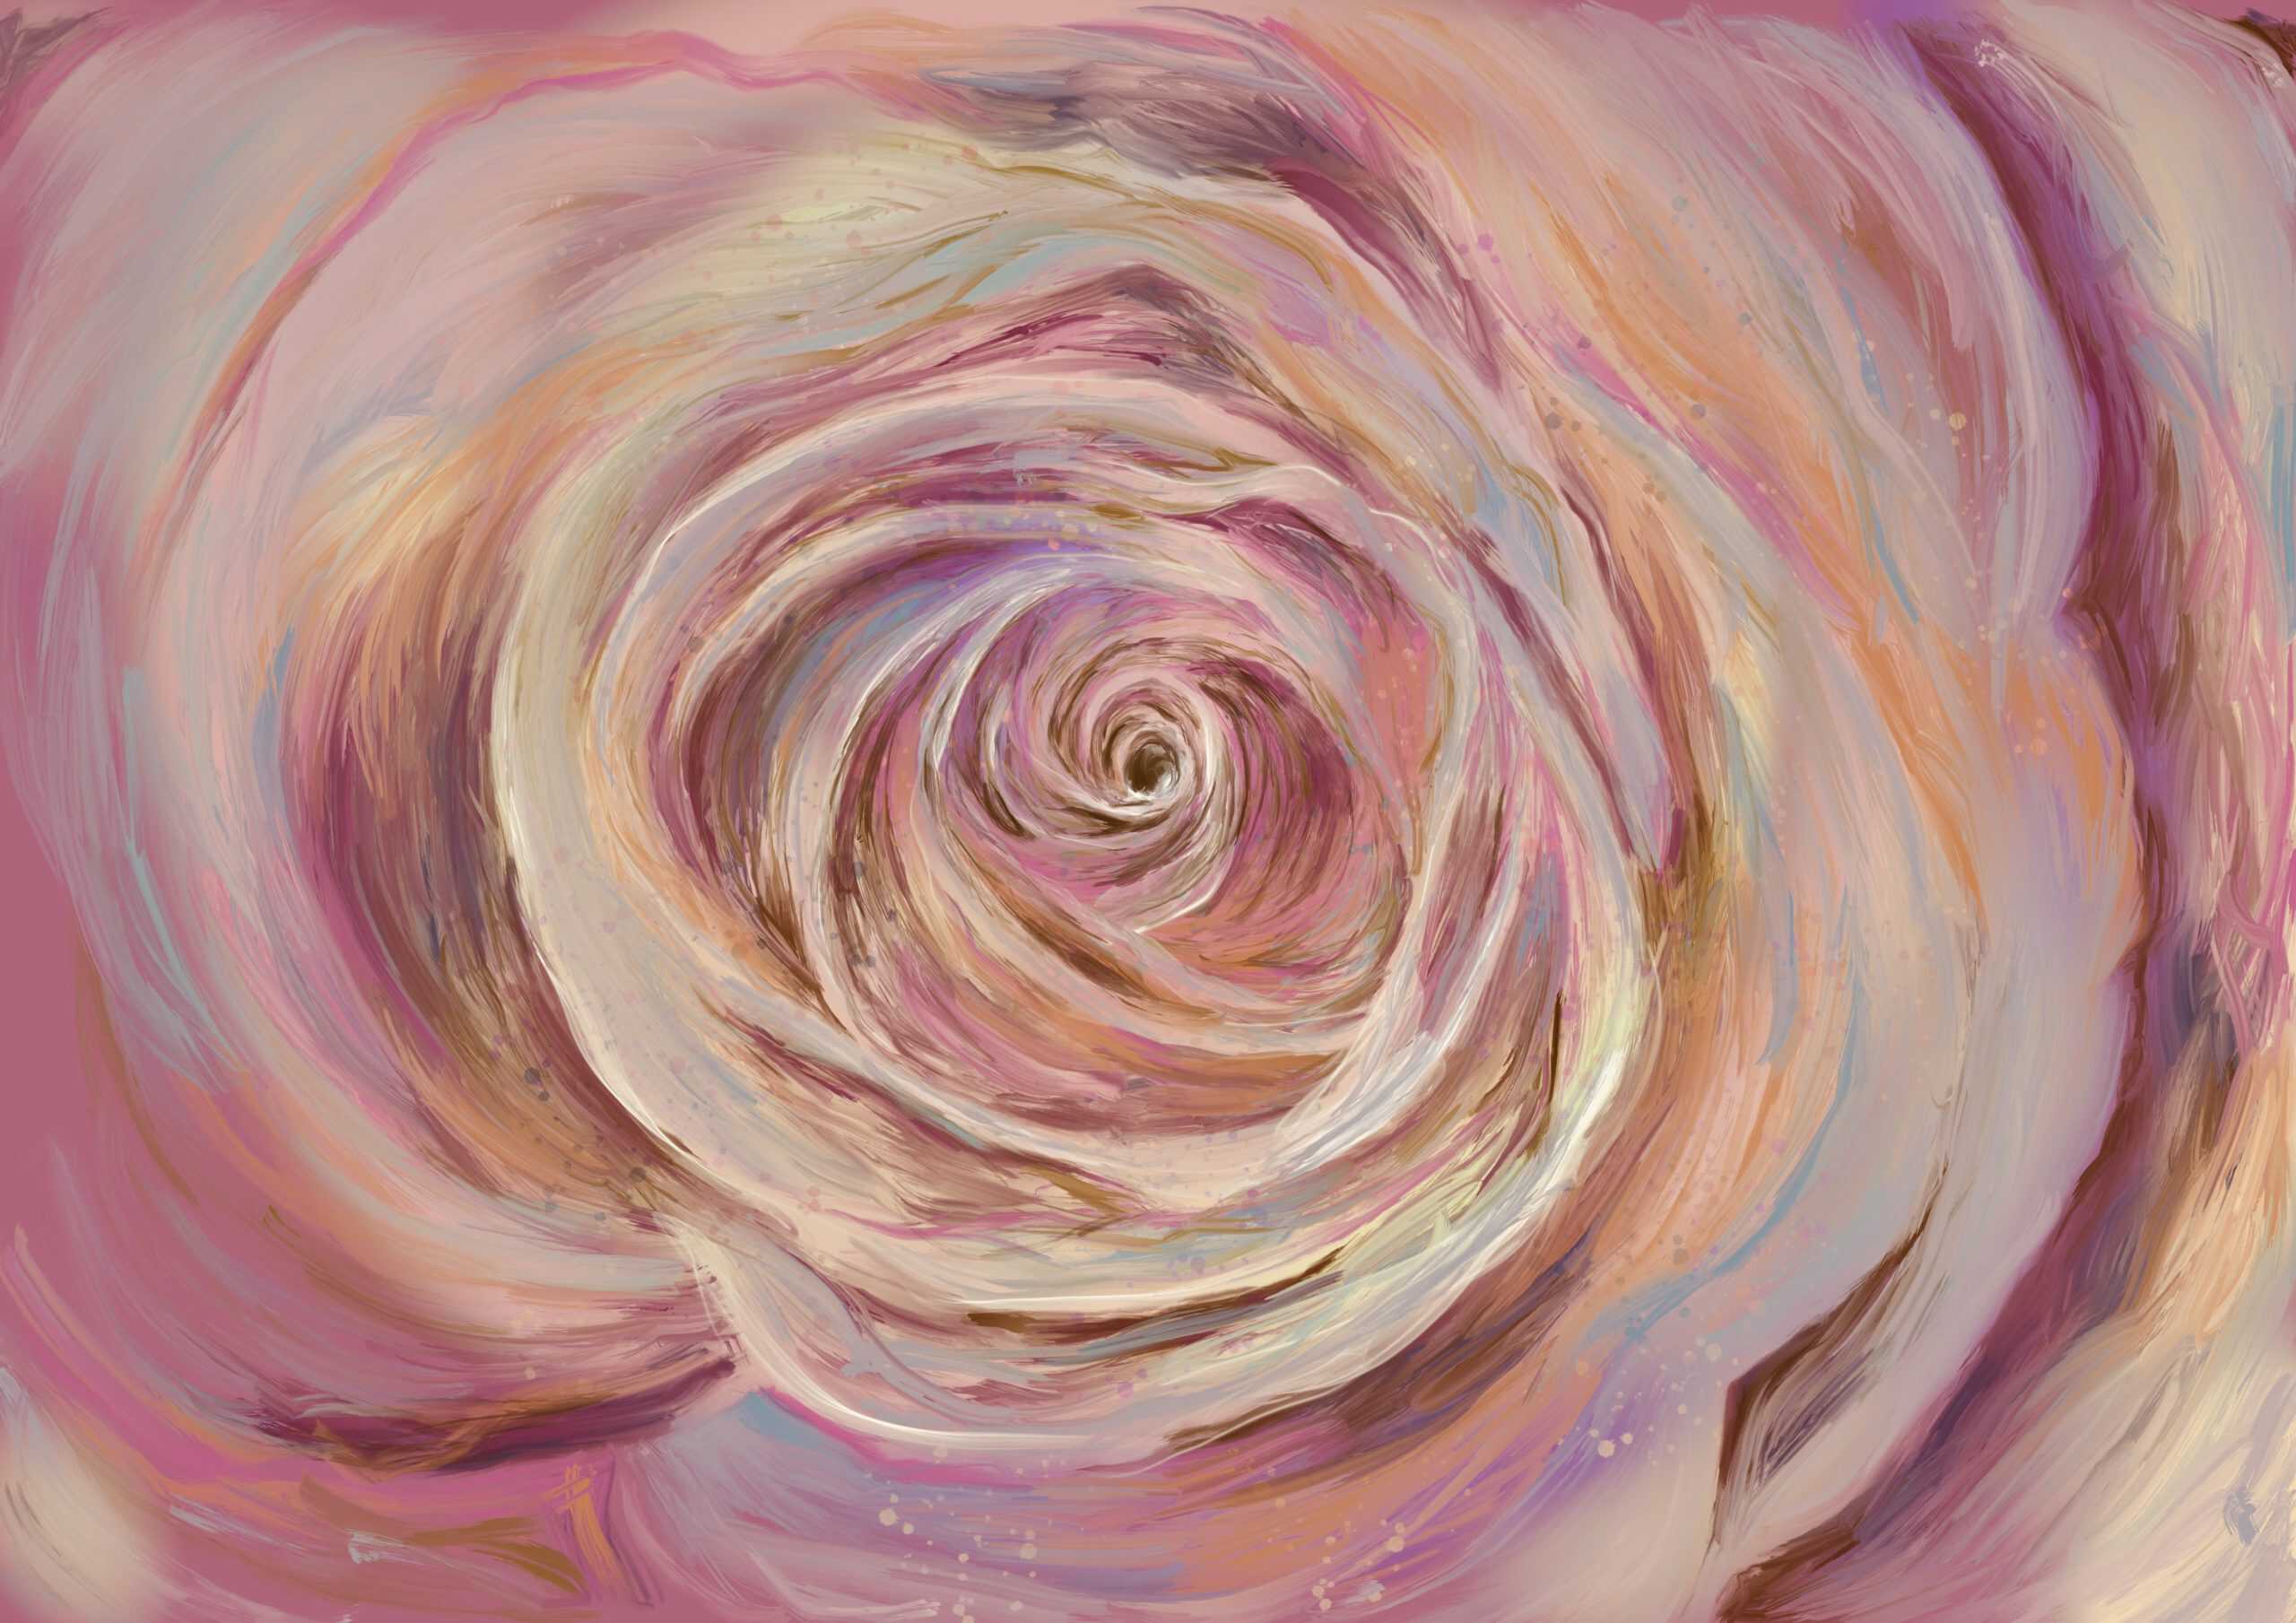
Starting out with painting roses can be somewhat intimidating because of the level of detail in natural roses. You may think that you need to get all the petal outlines and shadows in precisely the right places, otherwise it will just look wrong overall.
The answer to that is, it depends. If you are good at and prefer the realistic method then perfection is a must, not only for the viewer but for yourself too. But if you would rather go for painting loose, simple and abstract roses, then there is probably no right or wrong method. Either way, practice makes perfect.
Follow these 6 important tips to get you started.
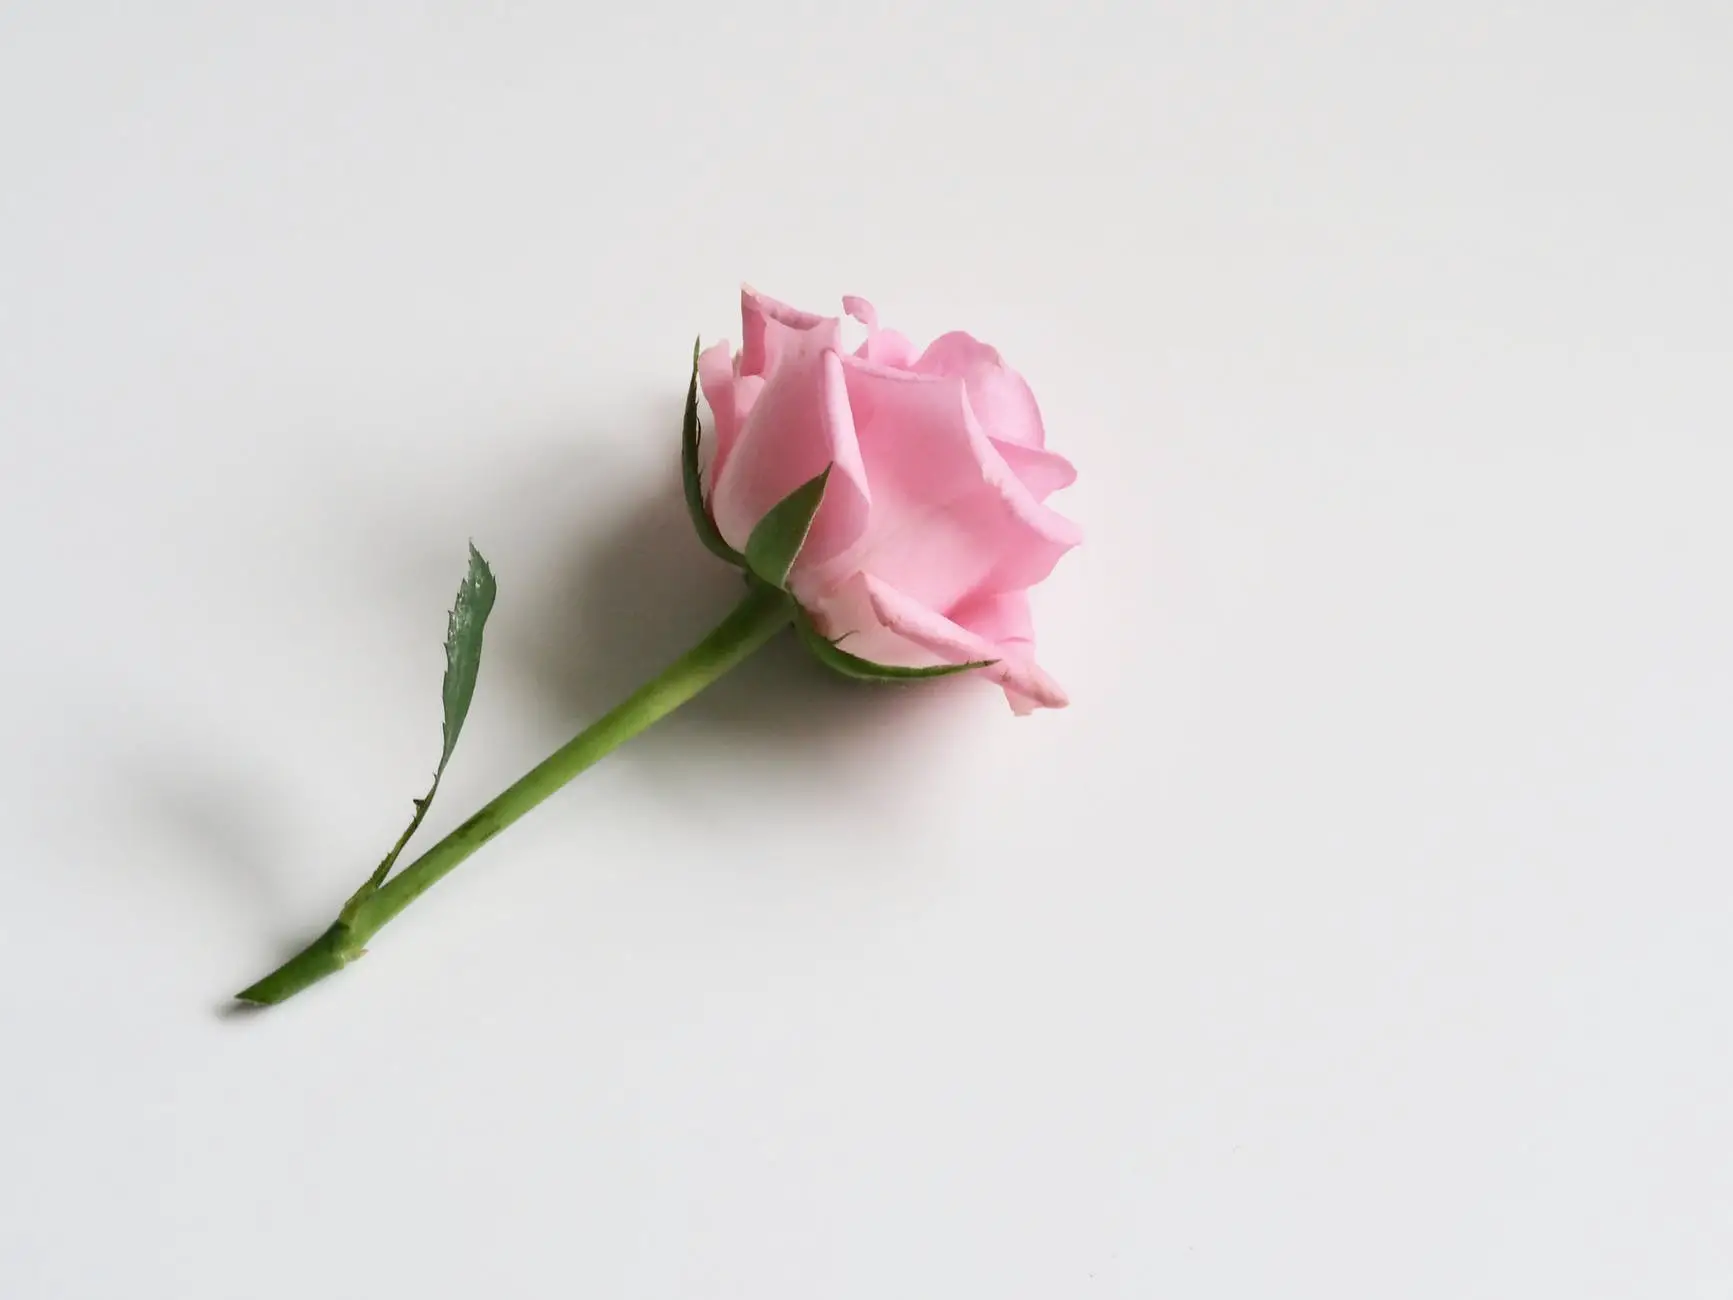
1. look at real life roses
Whilst this may sound obvious, but a vital step before starting is simply to spend some time looking at living roses, either through photographs, or, preferably, by finding a growing rose and studying it as it is in life.
While the complicated petals and subtle opaqueness of the petals can be intimidating at first, looking at roses as they are in various stages of growing, from bud to full bloom, allows you to understand the directions the petals grow, the hook of the thorns, and take note of oft-neglected details, such as the connection between the flower and the stem, or the shape of the leaves. After all, you need to have some understanding of the subject before making a painting on it.
2. start with painting cabbages
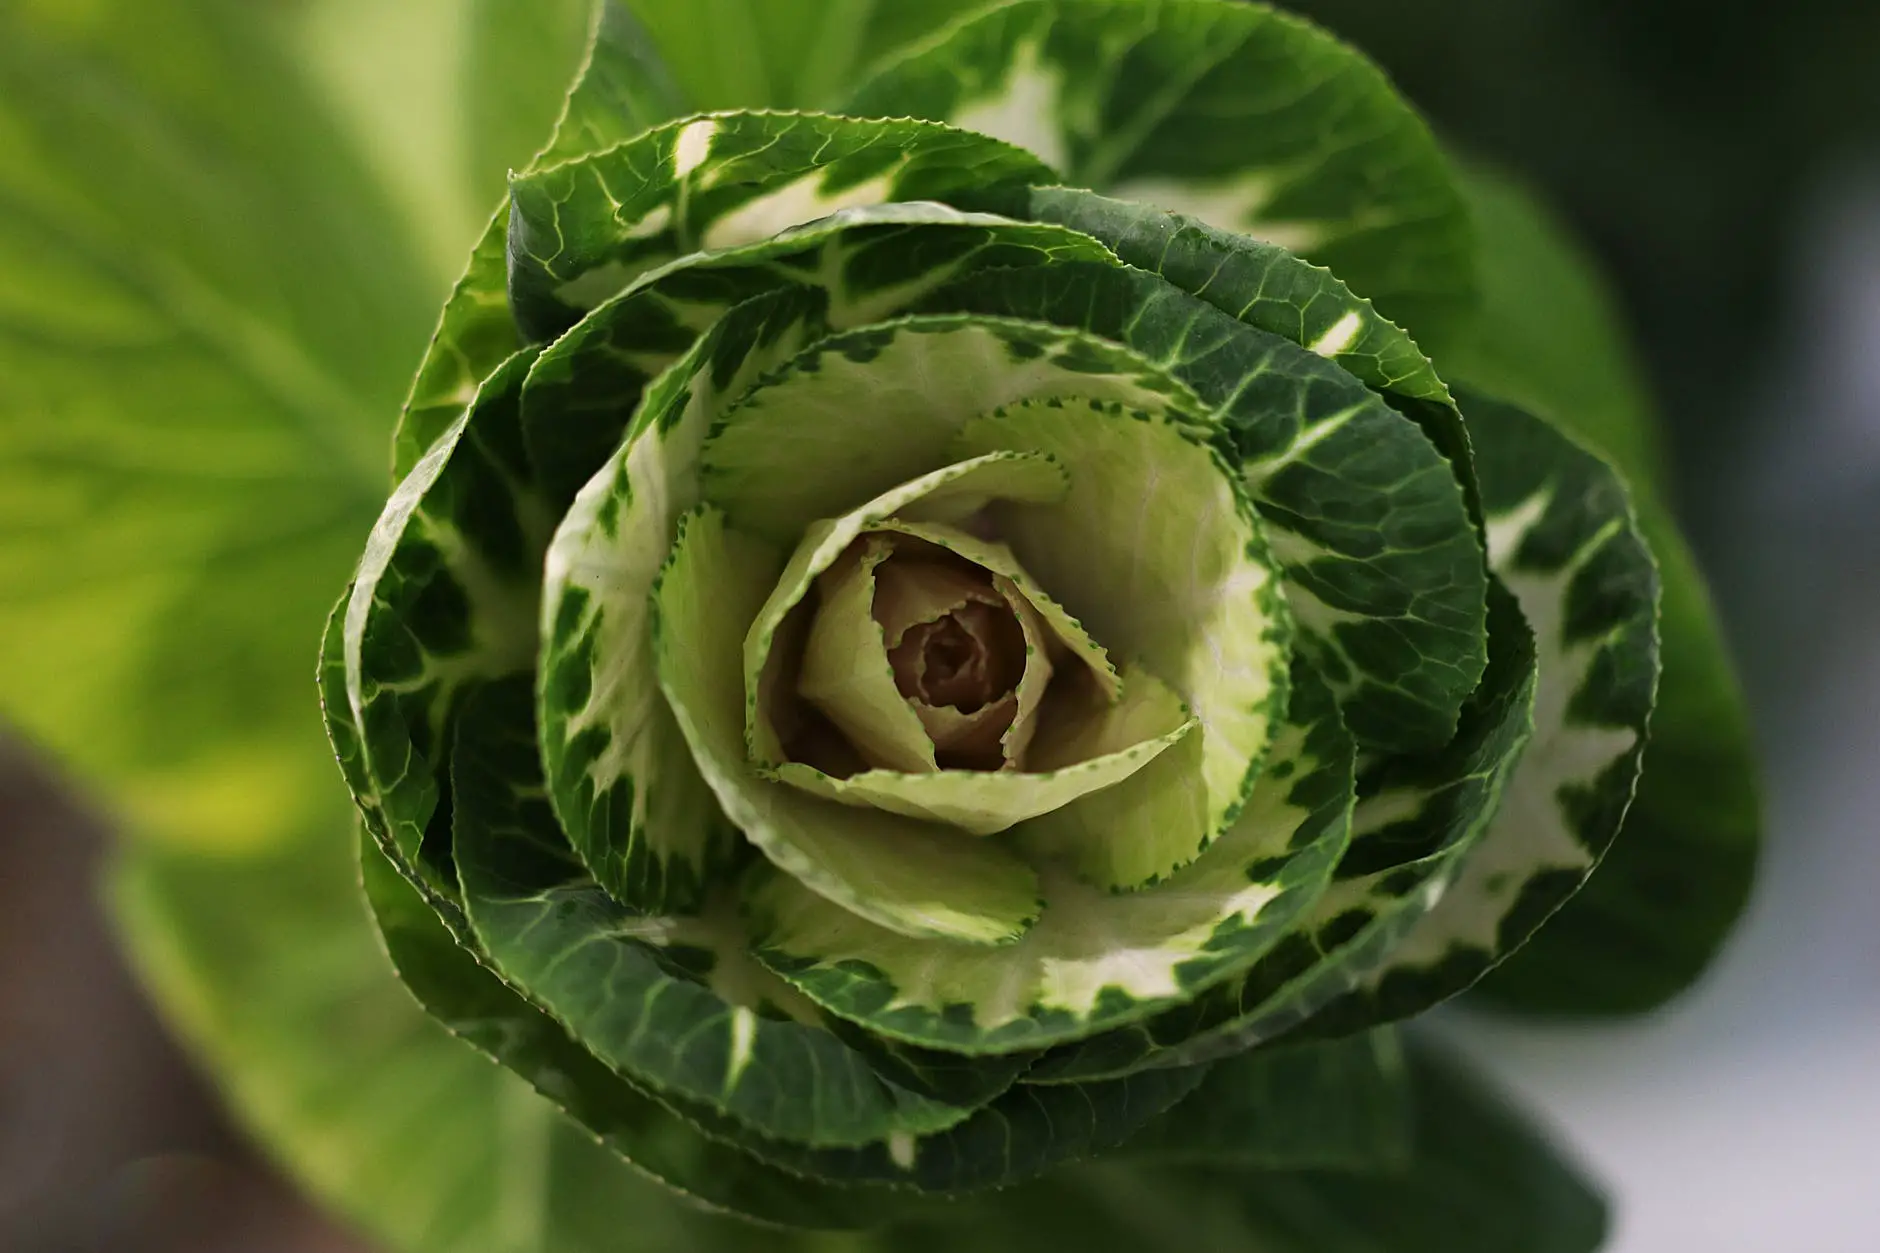
Cabbages have similar leaf patterns to those of roses, have the same general shape as a rose, but are much larger. It is a great starting off point for learning how to draw the spiraled, layered petal design that is so iconic in roses.
3. sketch with confidence & authority
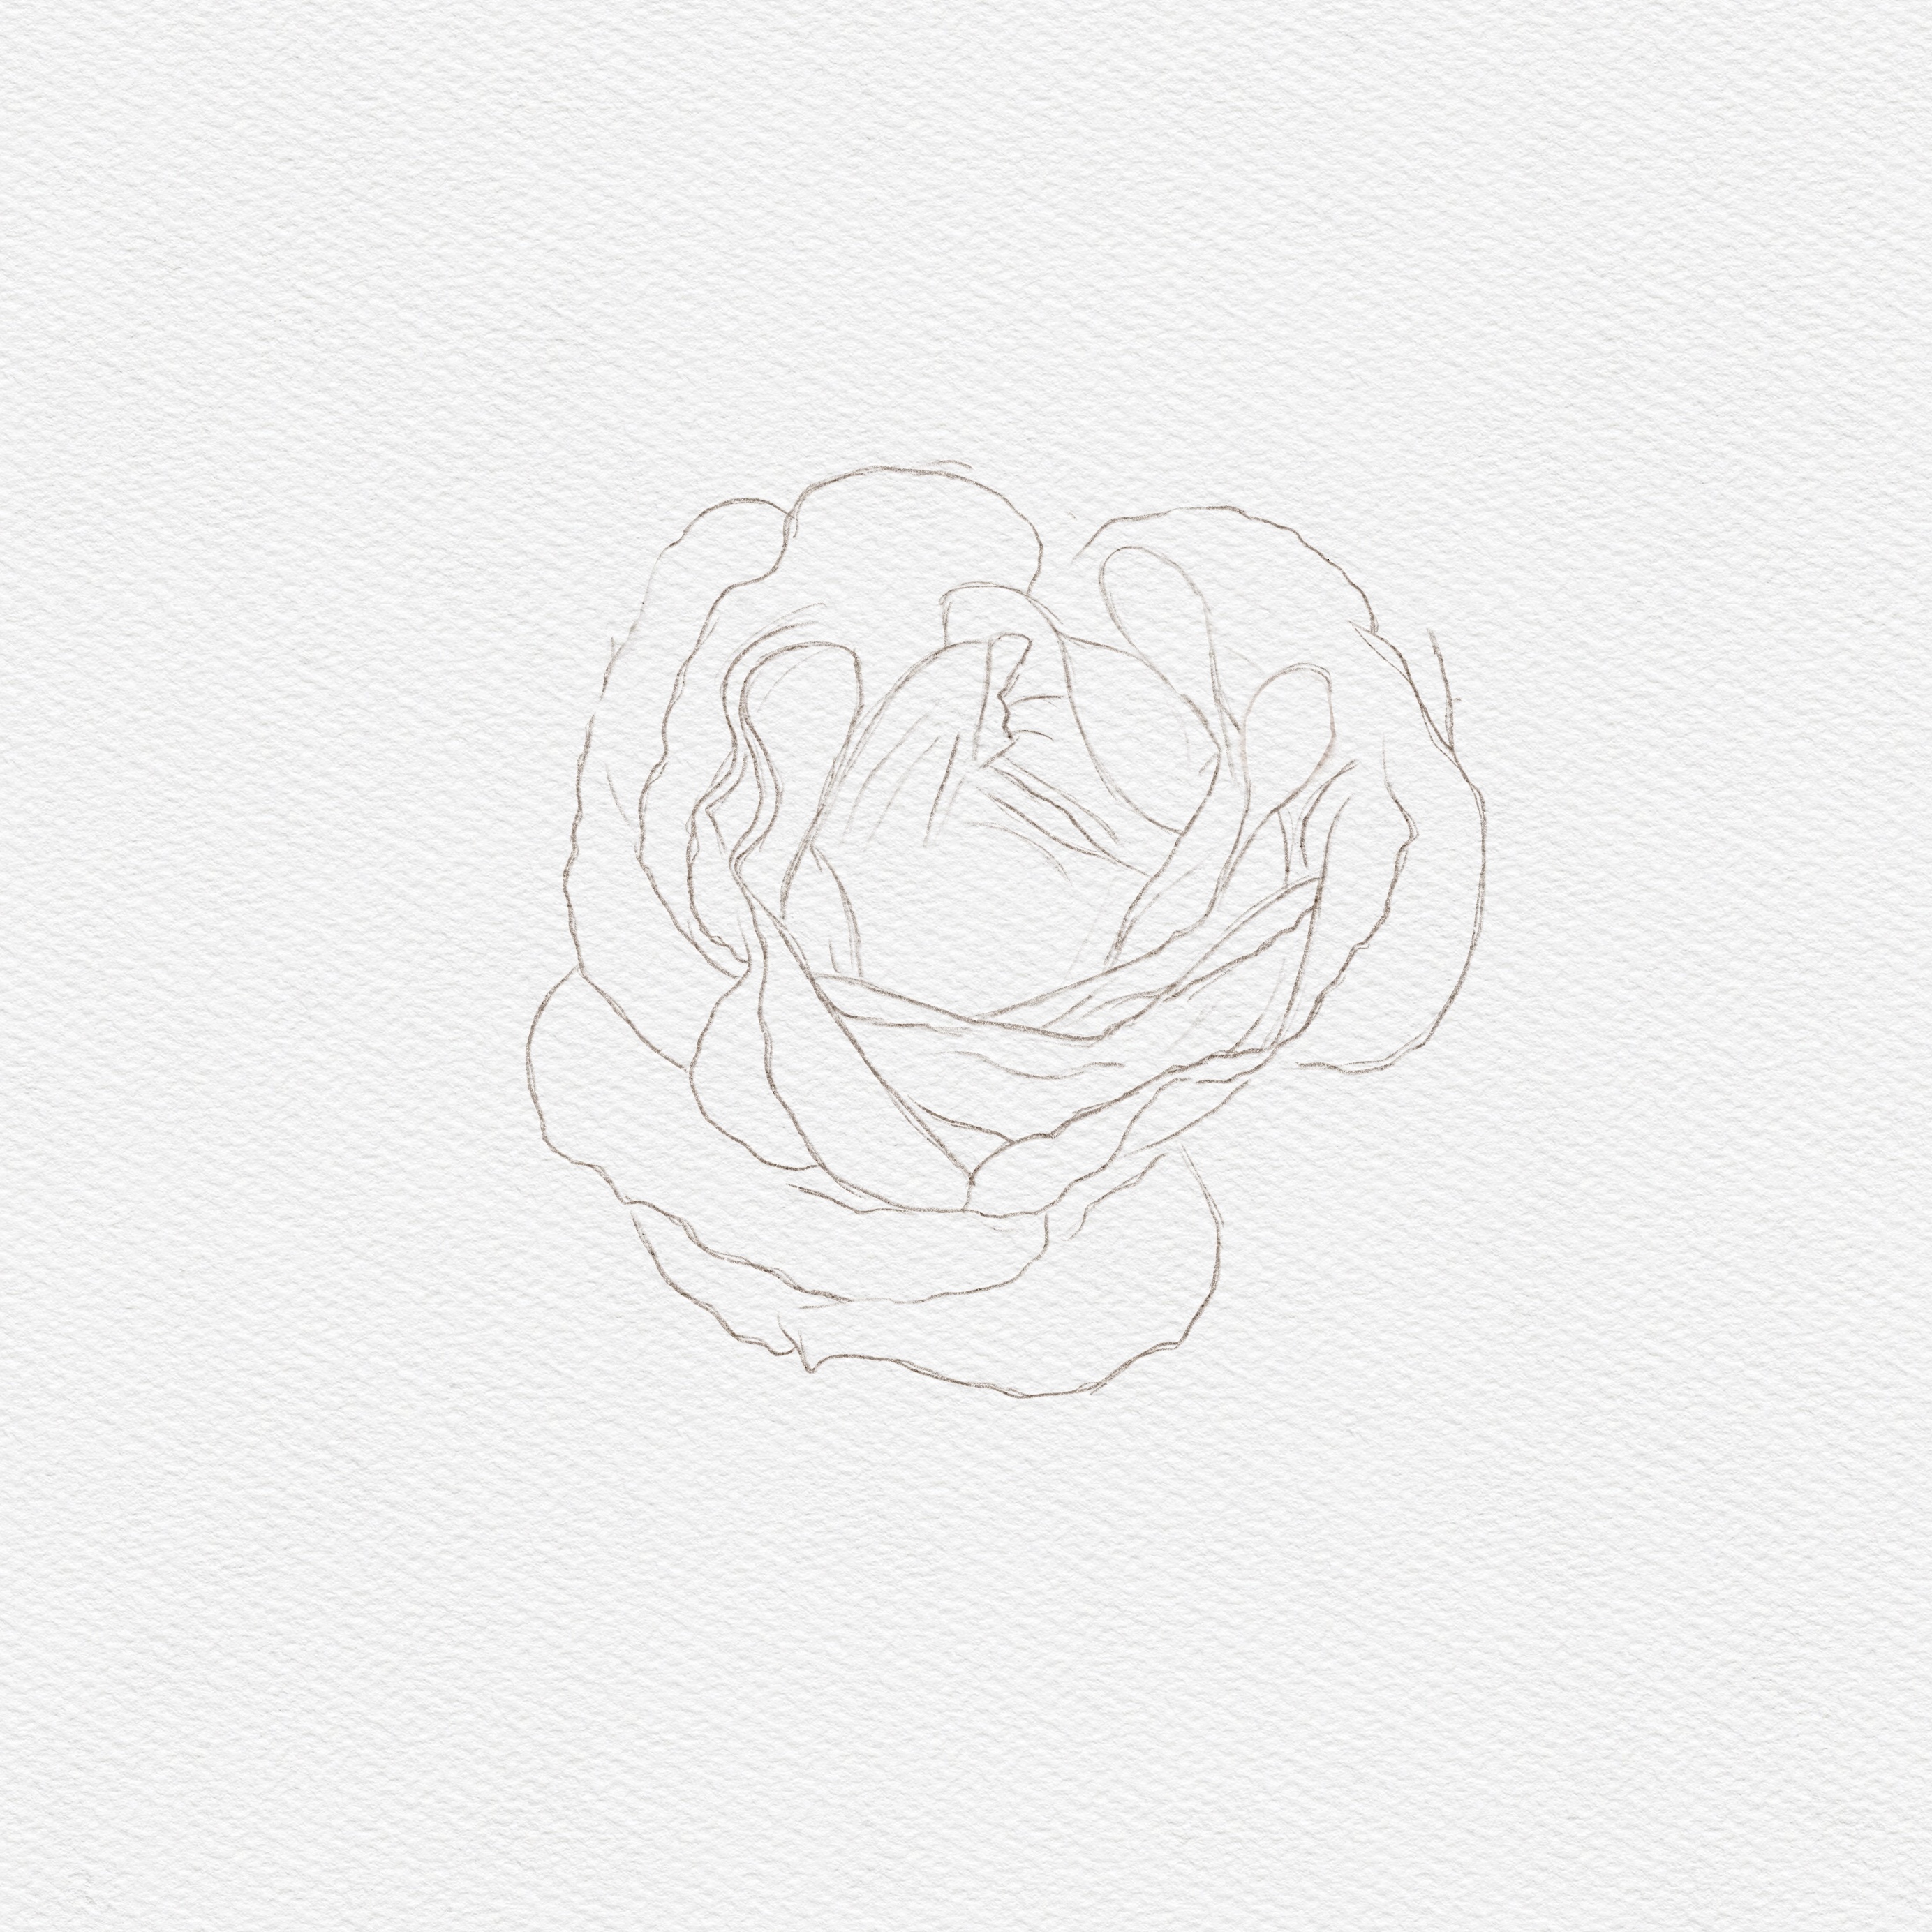
Once you feel comfortable with the rose’s basic shape, bring a sketchpad to sketch the roses. Confidence and authority are vital in drawing, and while becoming acquainted with the flower with your eyes and mind is just as important, your hand must become comfortable with the shape of roses as well.
The basic shape of a rose, through various stages of unfolding, goes from an oval, egg-like shape, with a wide bottom and a narrow lip, to the full sprawl of a rose in dramatic blooming, similar more to a spiral of tear shapes, or a folded napkin. Once you have sketched enough, and feel confident with the basic shape of the rose, as well as the stages of development the flower possesses, it is time to decide on your painting medium.
4. choose your paint medium
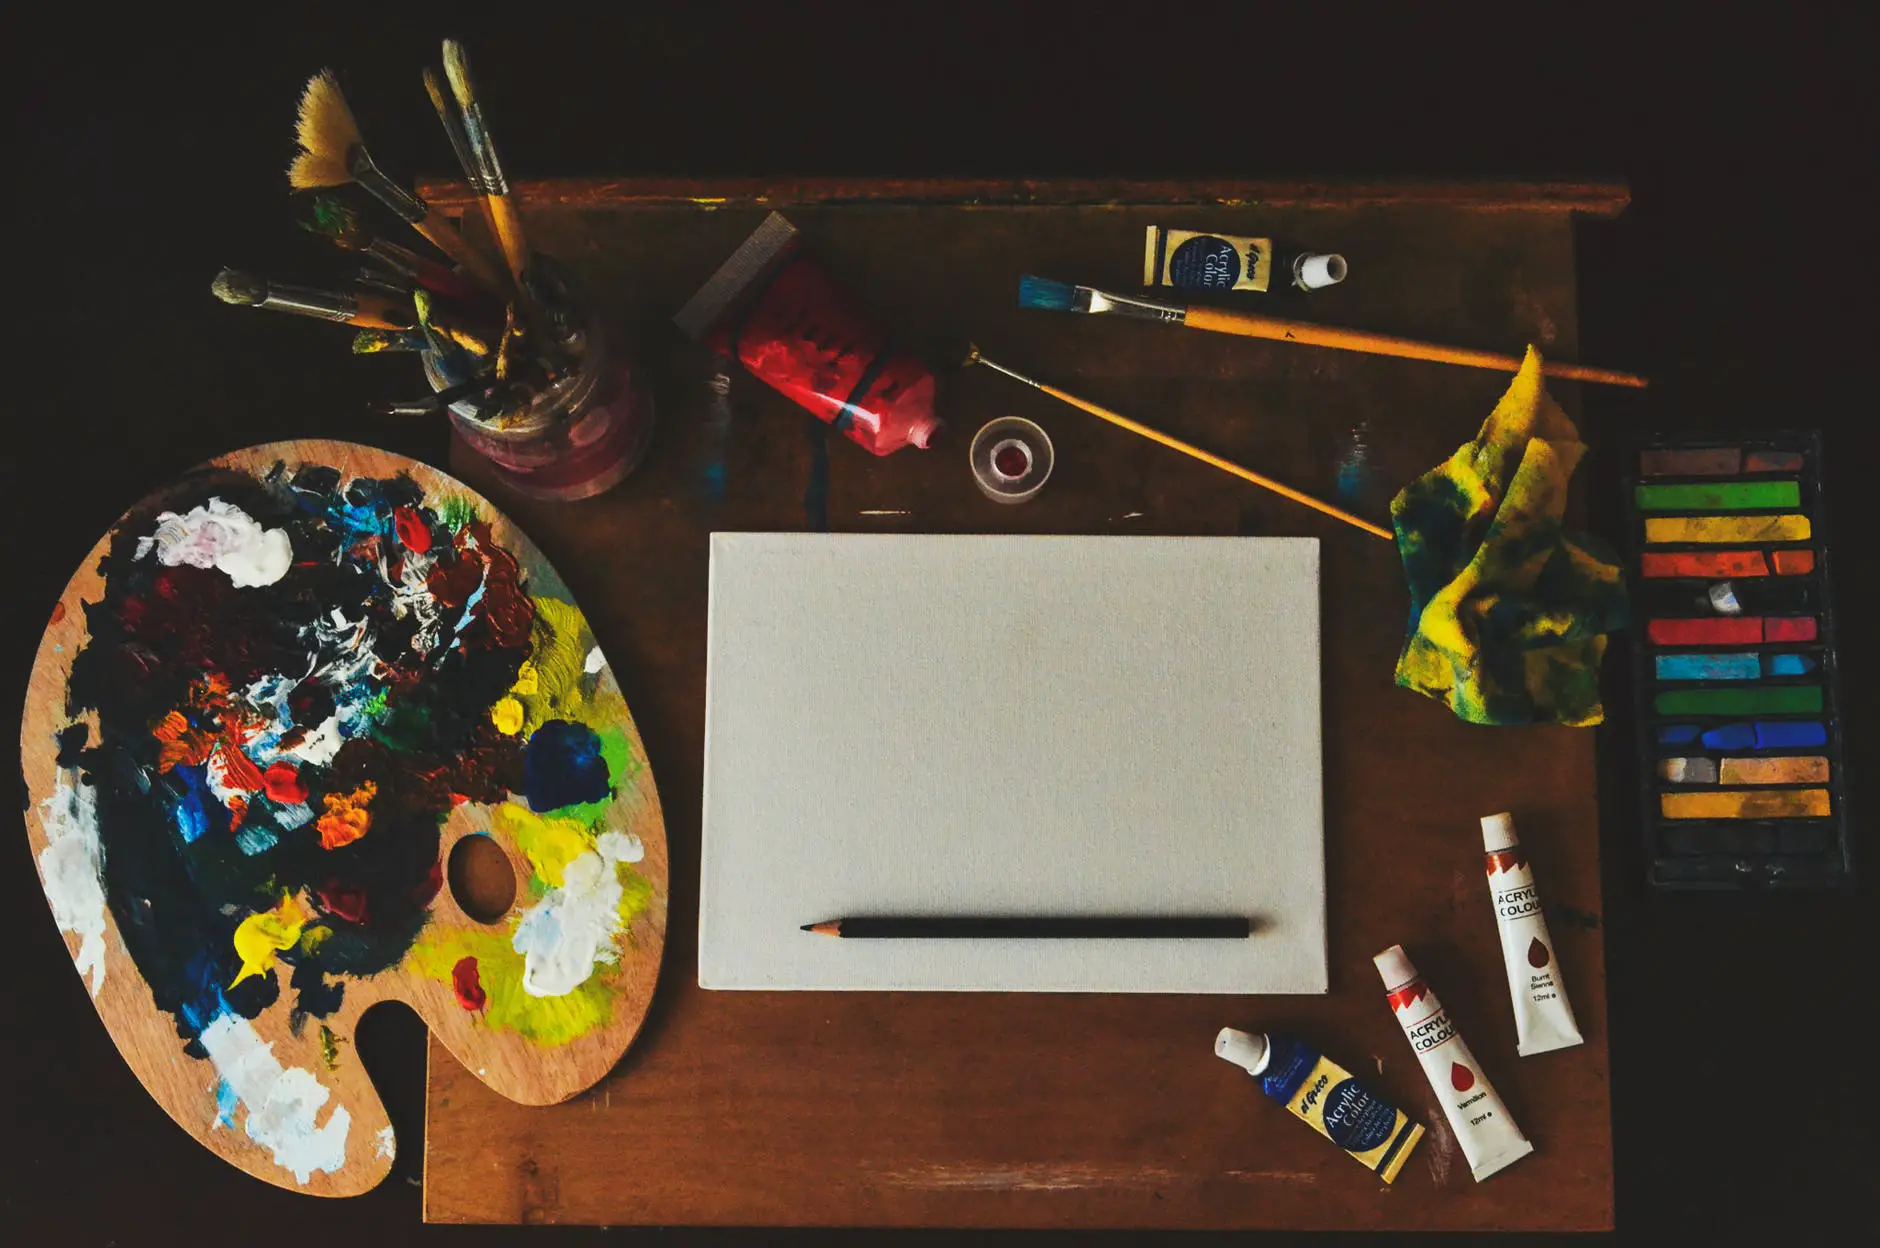
The five basic types of common paint are acrylic, gouache, watercolour, oil, and encaustic, each with their own colour profiles and uses.
Acrylic paints, which are the most friendly to beginners, can be applied to just about any surface, and have a full-bodied, opaque surface, which makes them very good for creating layers that cover one another, and retain a visible texture. Often made from emulsions of plastics and silicone mixtures, the appearance of acrylic paint can be too shiny and artificial for some expert painters, though it is an excellent beginner paint.
Oil, on the other hand, is difficult to master but yields beautiful results, each brushstroke layering over the next to create layers of delicate colour, able to best capture the faint translucent of rose petals, the veins in the leaves. If one is familiar with how to paint with oil, it can create a long-lasting, beautiful painting that has the most realistic resemblance to a living rose – however, if this is your first attempt at painting, choosing a more forgiving medium is best.
These mediums, acrylic and oil paints, are best for a realistic style, but, if you are seeking to depict a less realistic, and more interpretive style of rose, watercolour and gouache, can be great choices for paint.
Gouache, which is a pigment paint that presents in dry tablets that are mixed into a thick, gluelike paint, is an accessible form of watercolour that can be painted on appropriate paper as well as canvas, making it ready-to-use for amateur of beginner painting, though it can be just as appealing to paint with as professional watercolour.
Watercolour, which is loose in nature and can be difficult to master, can be used to create free-flowing, naturalistic paintings that evoke the feeling of growing rose bushes more as they exist in the mind than how they are in photographs.
Encaustic paint, which is waxy and more for wood and sediment, is not necessarily the best choice for painting flowers, but artistic choice in representing your vision depends entirely on what your own vision of the finished piece is.
5. find your natural style
In addition to paint, artistic style is also important for consideration. Simple and loose roses can be just as tricky to master as realistic roses, so it is best to consider based on what your own preference in creation is. The skill easiest to master is the skill that you enjoy practicing most, so I recommend selecting a style not only based on aesthetic appreciation, but what sparks joy in creating. In your sketching stage, make note of which parts of drawing you find most enjoyable, and consider how painting styles might reflect those pleasures best.
Impressionistic style, for example, focuses on the shape as it appears, not necessarily how it is factually, making note of colour and shape of light throughout the day. Similarly, a more loose style might reflect more on the natural movement of plantlife, taking the shapes and angles present in the stem and leaves and exaggerating them to evoke certain emotions.
Before beginning to paint, consider your influences, and have certain techniques studied and prepared – consider, for example, watching videos about how to shade with your paint of choice.
6. prepare your surface
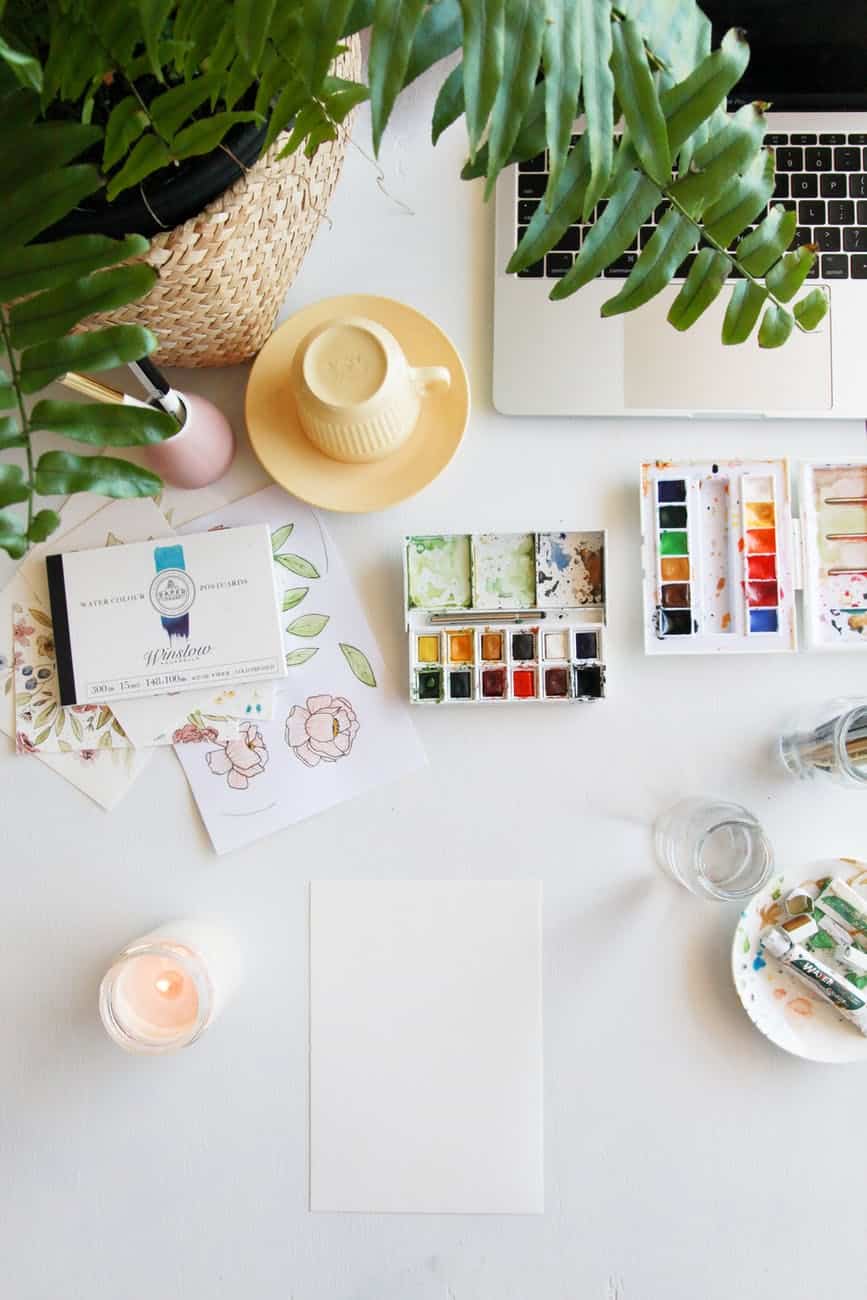
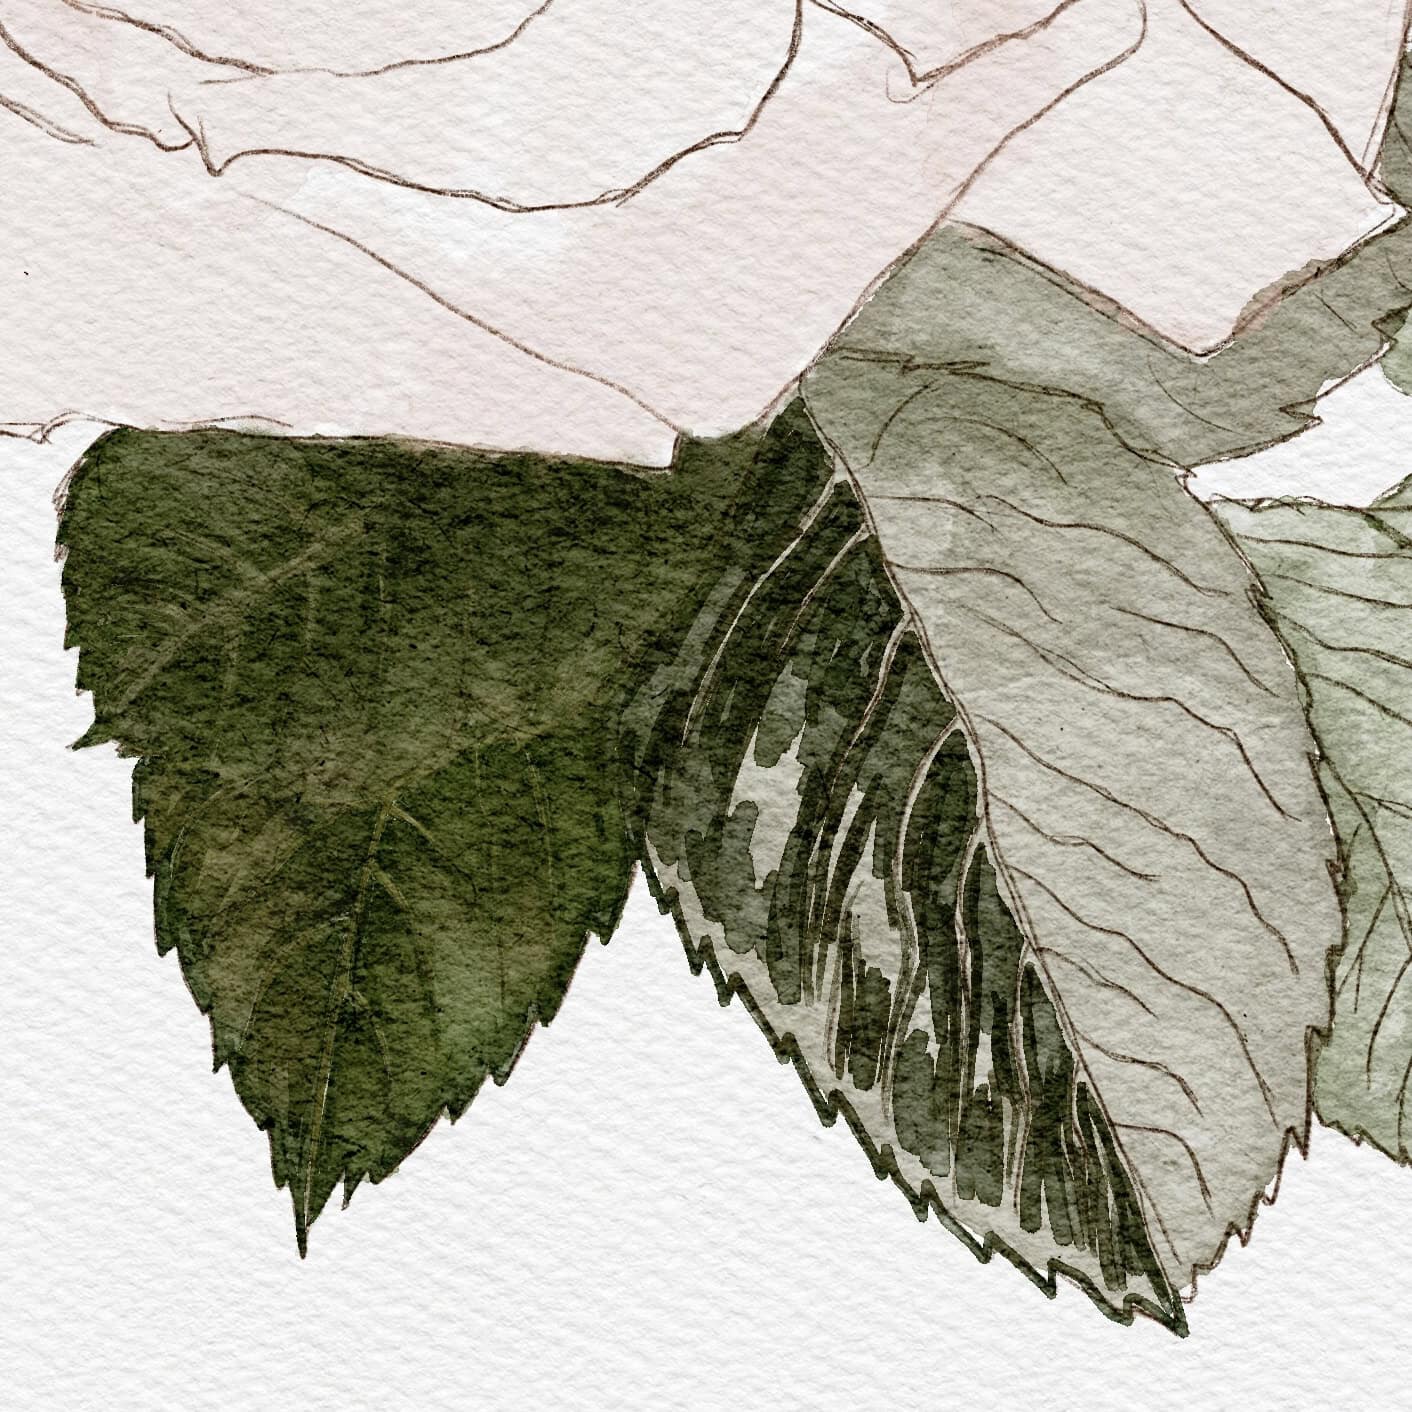
Now that you have your methods prepared, and are comfortable with sketching roses, you should prepare your canvas, or appropriate paper. Some canvases require whitewashing before painting can begin, preparing the canvas before beginning, but it could equally be handy to sketch a basic rose shape to fill in with paint, especially if you have chosen the path of watercolour or acrylic.
As you begin to paint, remember to have a variety of quality paints, and to mix colours on your pallet as you go. Having reference photos on hand, especially photos that you have taken yourself in earlier stages, is always a great idea, and make sure you have the appropriate equipment and location to paint in. Oil painting, for example, might be best practiced in a well-ventilated space to minimise inhalation of fumes, and it always helps to have something to drink and to take plenty of breaks while painting.
Above all, have fun!
